Select your operating system and follow the instructions to add a printer.
Adding a Printer on a Mac Computer
- Navigate to “System Preferences” (on newer macOS, it is now called “System Settings”)

- In System Preferences, go to “Printers & Scanners”

- In the “Printers & Scanners” window, click on the “+” symbol in the lower left corner to add a printer

- Click on the globe icon and then select “Line Printer Daemon – LPD” from the Protocol dropdown

- In the Address field, use haskellprinter.spc.uchicago.edu (OR the IP address once ITServices has given it to us), then at the bottom of the “Add Printer” window, in the Use dropdown choose “Select Software…”

- In the “Printer Software” popup, type 6555 in the search box, then select “Canon iR-ADV 6555/6565 III”. Click on “OK”

- Click on the “Add” button in the bottom right corner

- You will now see the newly added printer in the “Printers & Scanners” window

Adding a Printer on a Windows Computer
- Select “Start” and type “printers” in the search box.
- Choose “Printers & scanners“.
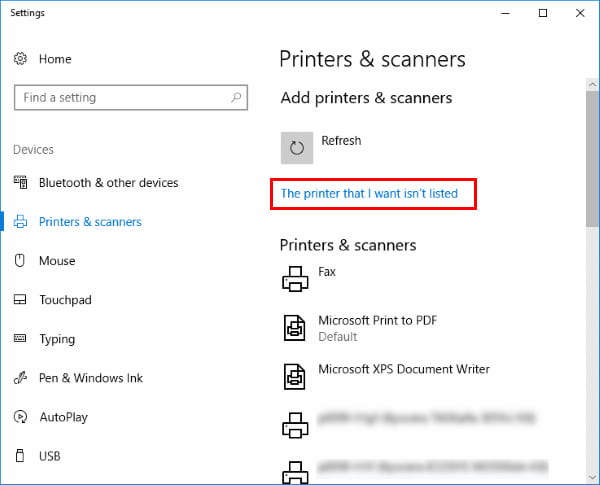
- Select “Add a printer or scanner“.
- Wait for the “The printer that I want isn’t listed” option to appear, then select it.
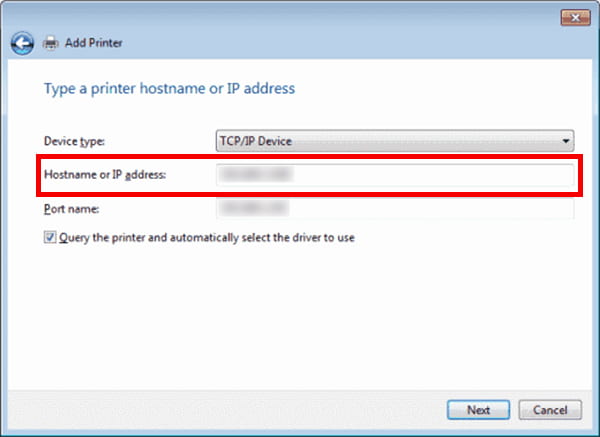
- Select “Add a printer using a TCP/IP address or hostname” , then select “Next“.
- Select “TCP/IP Device” in the “Device type” list.
- Type haskellprinter.spc.uchicago.edu (OR the IP address once ITServices has given it to us). Click the “Next” button.
- Windows will now walk you through installing the drivers for the printer. After that is complete, you should be able to print to the printer via direct IP address.