This document will give instruction on how to download and install Code42 (CrashPlan) on both Apple and Windows computers.
Apple
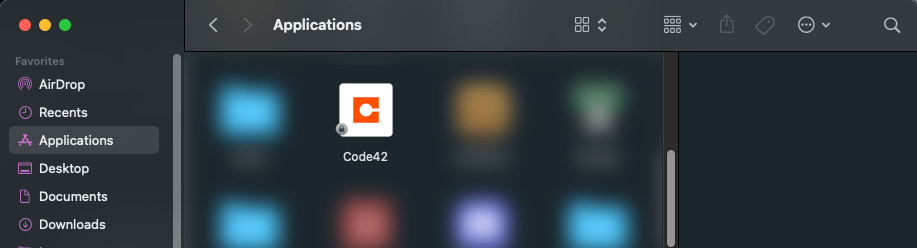
Verify whether or not Code42 is already installed on your computer by looking for the bold C icon towards the right of your menu bar or by opening Finder and searching for Code42 in your Applications folder. ![]()
If Code42 is already installed, click here to skip to the “Logging In & Configuration” section of this page.
Code42 Installation
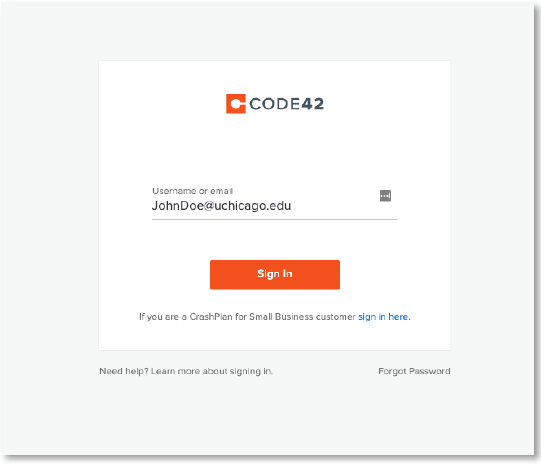
- Open your preferred web browser and navigate to: https://console.us2.crashplan.com/login/
- At the login prompt enter your UChicago email address
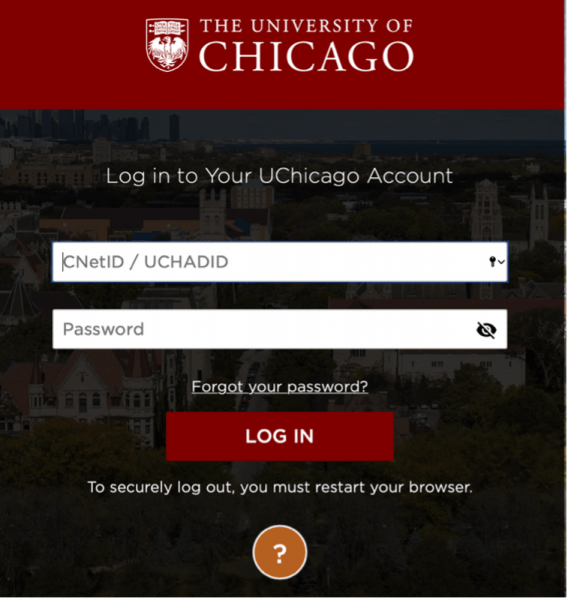
- At this point, you will be redirected to the Shibboleth login page. Enter your CNet ID and password and click log in. Complete the Duo 2Factor authentication to continue.
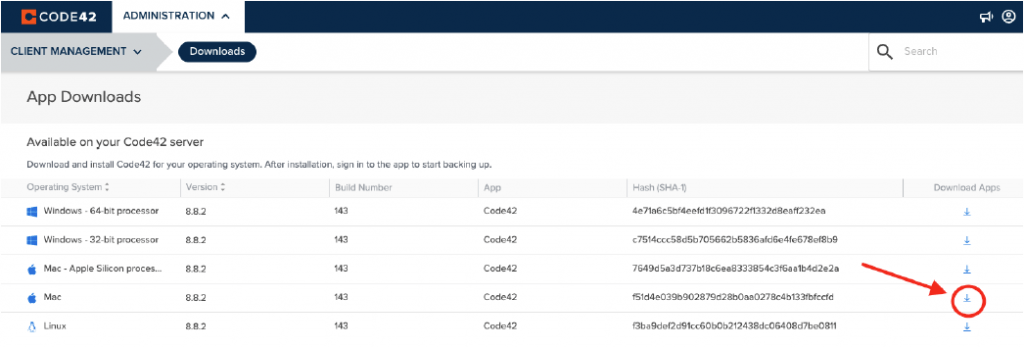
- Once logged in navigate to the Administration drop down menu in the upper left corner of the window. Click Downloads from the menu

- On the next screen select the correct download for your computer
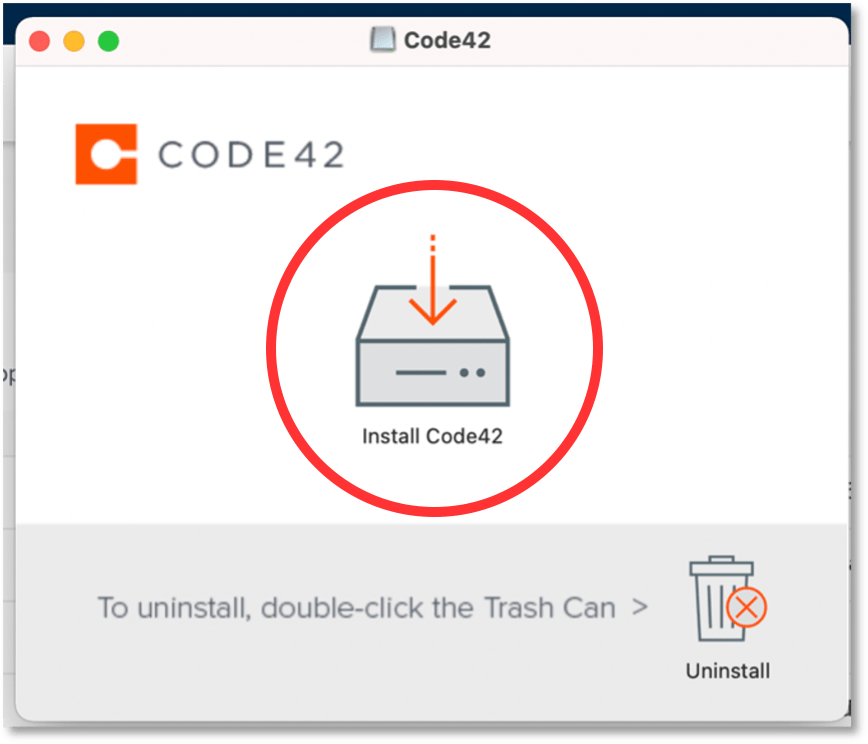
- Once the installer package downloads, open the Code42 installation package
- Double click the “Install Code42” icon to begin the installation
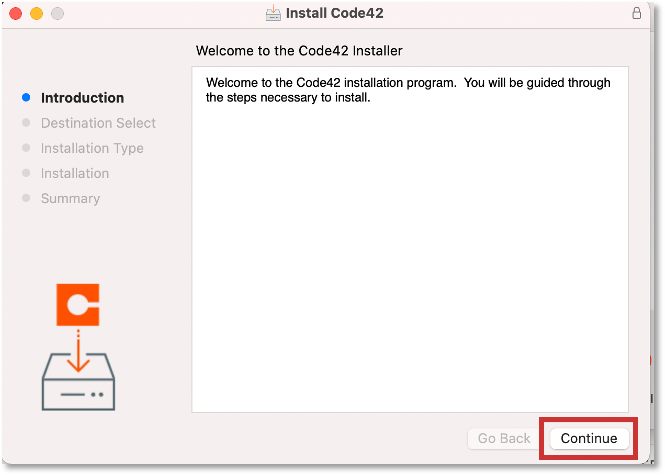
- Click the Continue button when the Introduction screen appears
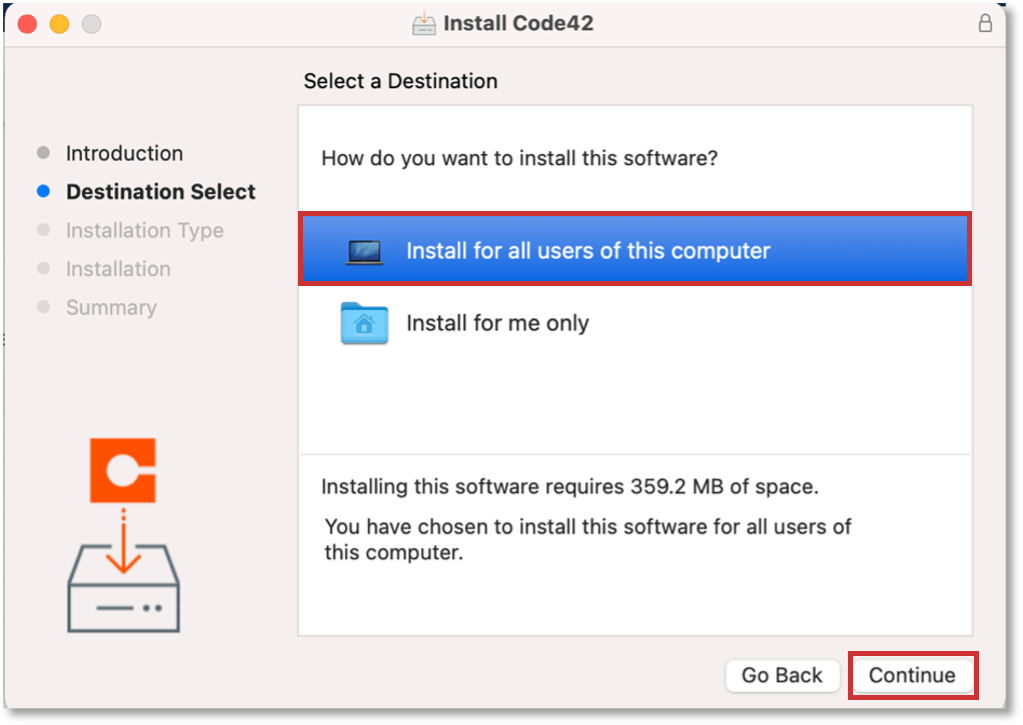
- On the Destination Select screen select “Install for all users of this computer” if this is NOT a shared computer. Click the Continue button
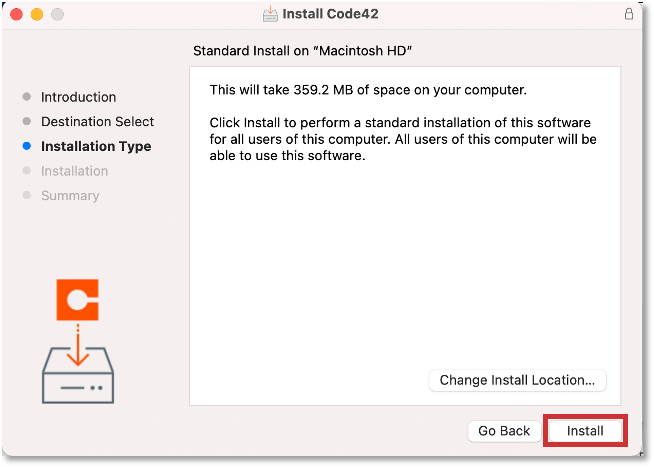
- On the Installation Type screen click the Install button to continue.
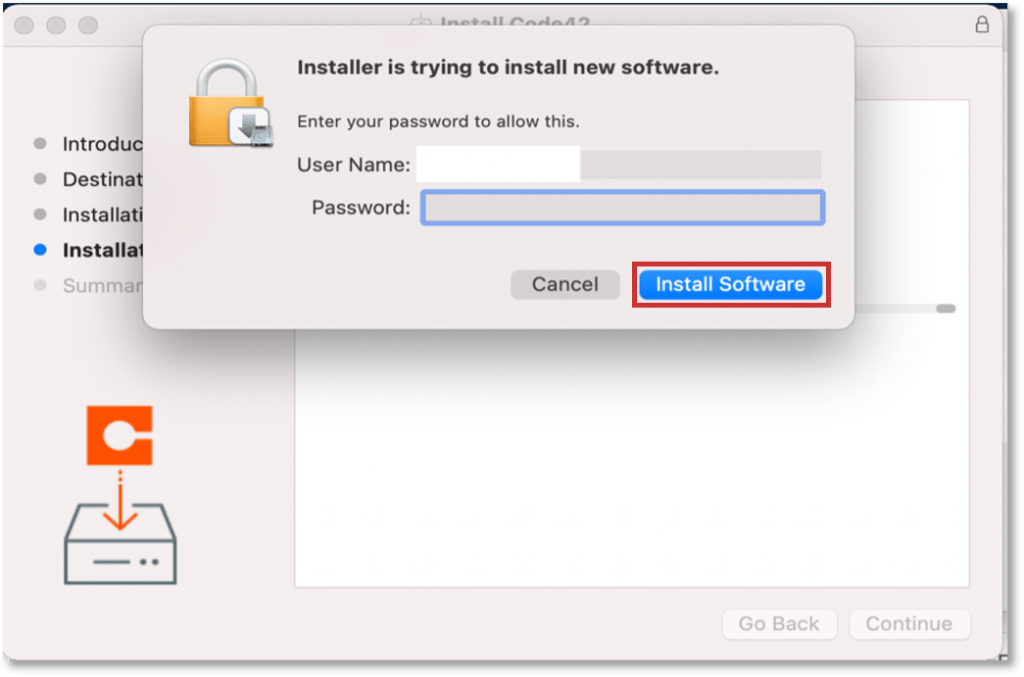
- Enter the Administrator username and password for the computer. Click the Install Software button to complete the installation.
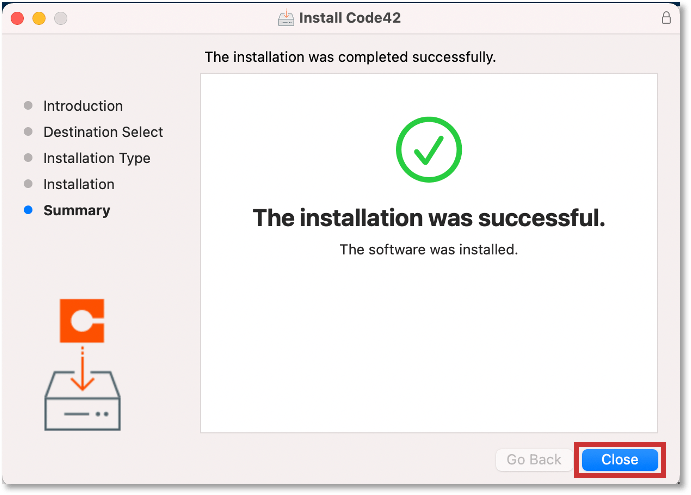
- Once the installation has successfully been installed, click the Close button to close the installer
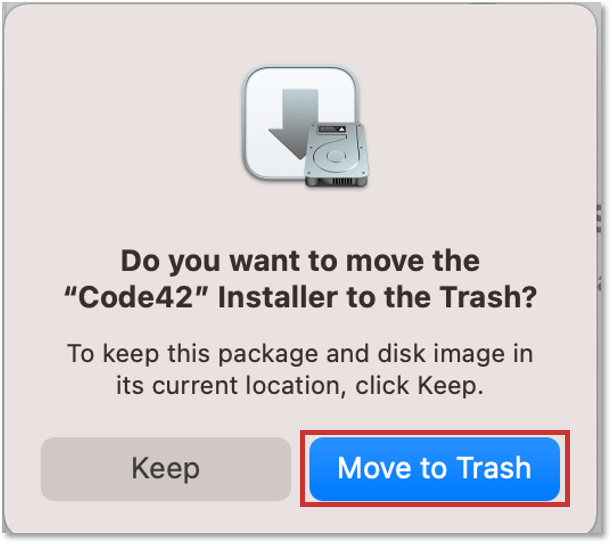
- If prompted to move Code42 Installer to the trash, it is ok to do so by clicking the Move to Trash button.
Logging In & Configuration
Once the Code42 installation is completed, the application will open on its own for the first time. If Code42 does not open, launch Code42 from the Applications folder on your computer.
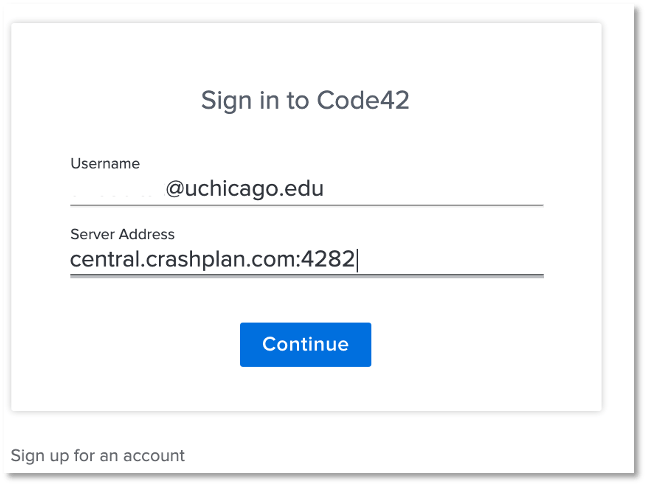
- Enter your full UChicago email address in the Username field and central.crashplan.com:4282 in the Server Address field and click Continue
- At this point, you will be redirected to the Shibboleth login page. Enter your CNet ID and password and click log in. Complete the Duo 2Factor authentication to continue.
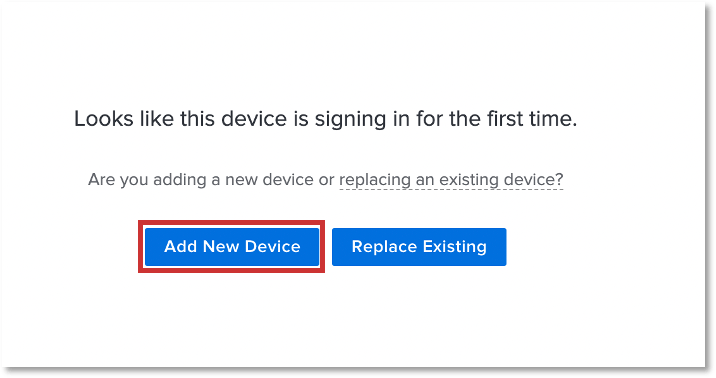
- The following screen will present two options: “Add New Device” or “Replace Existing”. For a first-time installation click the “Add New Device” button
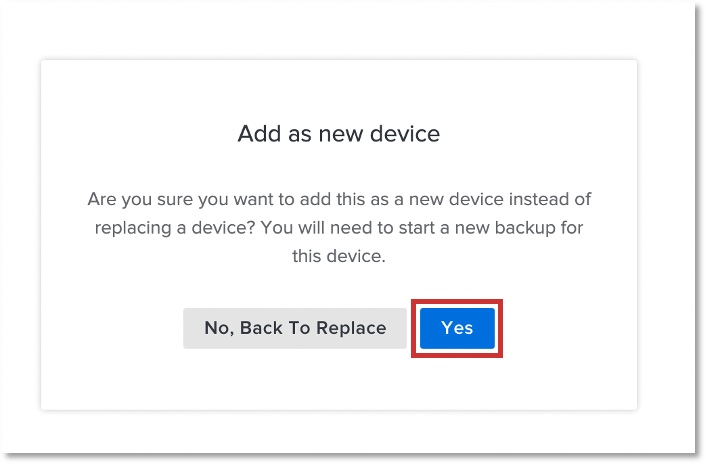
- The next screen will prompt to confirm your selection of adding a new device. Click the Yes button to continue.
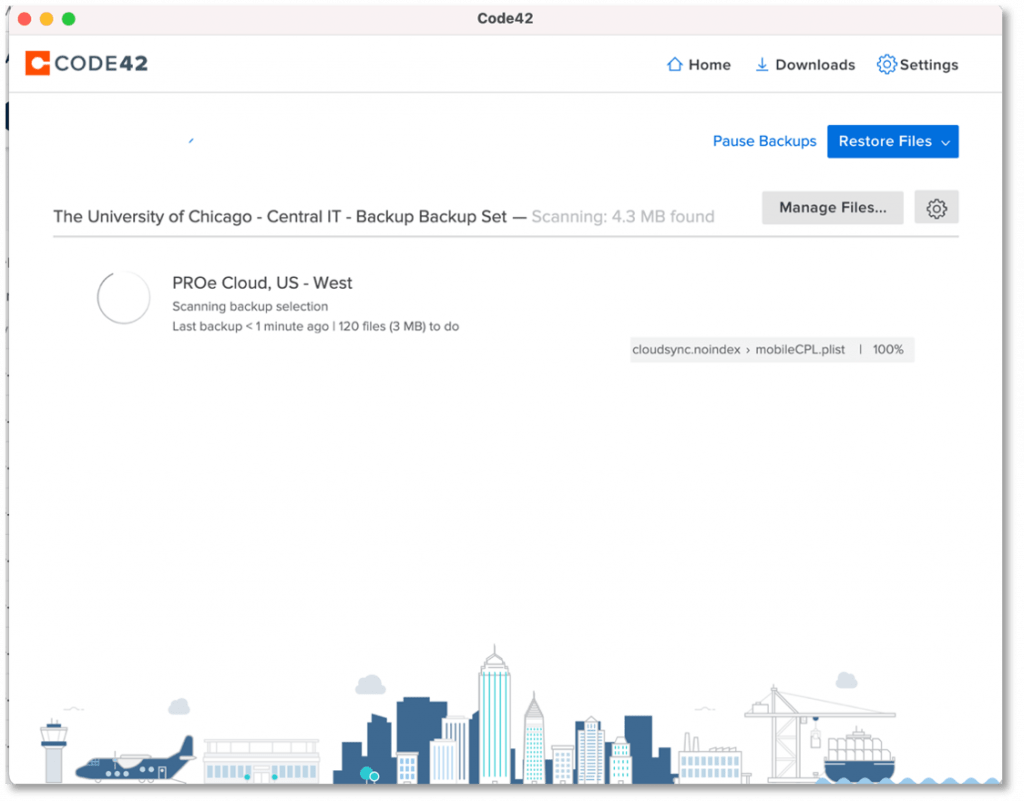
The following screen shows Code42 scanning the computer preparing for the first backup. Before Code42 can upload the prepared files to the backup server Code42 must be given “Full Disk Access” in the System Preferences for the computer.
Granting Full Disk Access to the Code42 Software
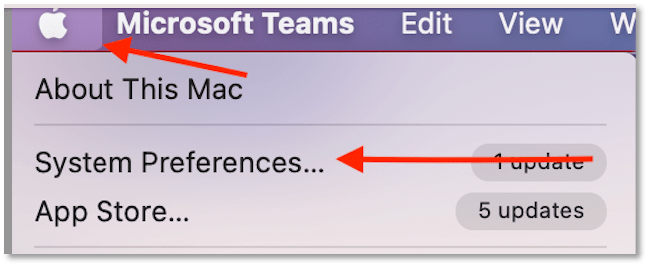
- Navigate to the Apple menu in the upper left corner of the screen.
- Select System Preferences from the menu.
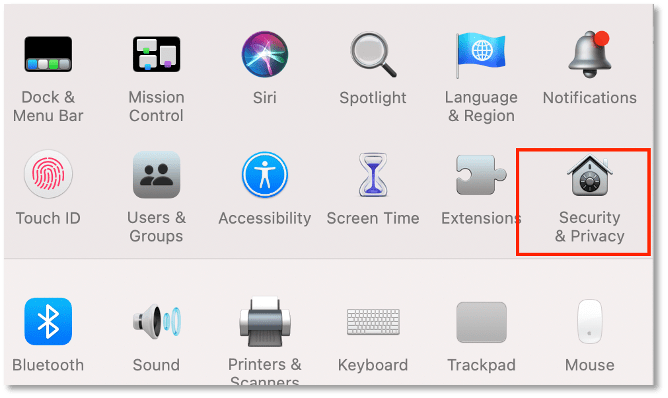
- From the System Preferences panel click the Security & Privacy icon.
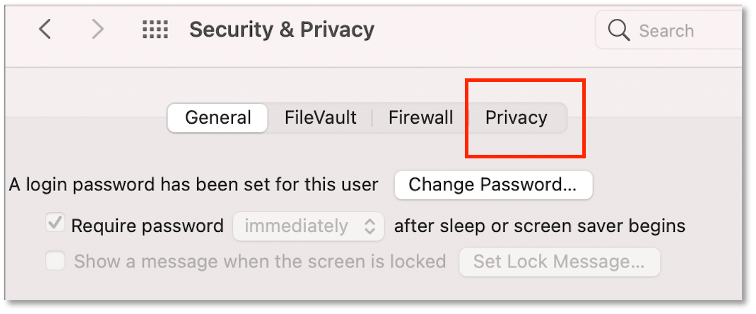
- Click on the Privacy tab in the Security & Privacy panel to view the items in the tab.
- Click the Lock icon to be able to make changes to the items in the Privacy tab. You may be prompted for the Administrator username and password

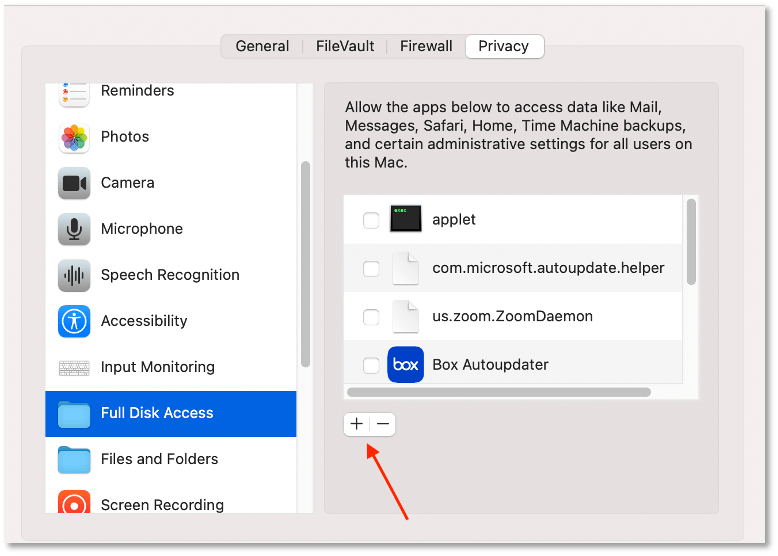
- Scroll through the menu on the left side in the Privacy tab and select “Full Disk Access”
- Scroll the Full Disk Access menu on the right to locate “Code42”. If Code42 is not present in the menu click the “+” button and add Code42 from the Applications folder on your computer
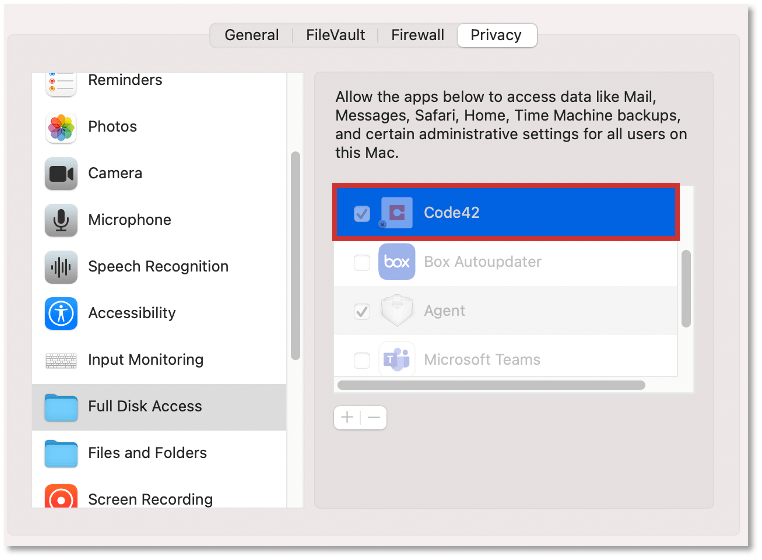
- Once Code42 has been added to list, check the box in front of the Code42 icon to grant the program Full Disk Access.
- Click the lock in the bottom left corner of the window to prevent further changes to the System Preferences.
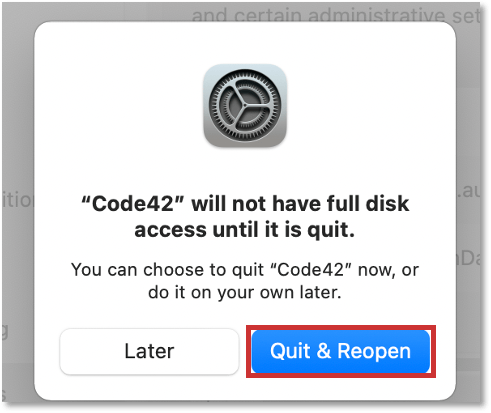
When the System Preferences panel is closed, a prompt to quit and reopen Code42 will appear. Click the Quit & Reopen button to restart Code42 with Full Disk Access. At this point, the computer will start backing up data to the server.
Windows
Verify whether or not Code42 is already installed on your computer by looking for the bold C icon in the system tray on the far right of your menu bar or by opening the Start menu and searching for Code42.
If Code42 is already installed, click here to skip to the “Logging In & Configuration” section of this page.
Code42 Installation
- Open your preferred web browser and navigate to: https://console.us2.crashplan.com/login/
- At the login prompt enter your UChicago email address
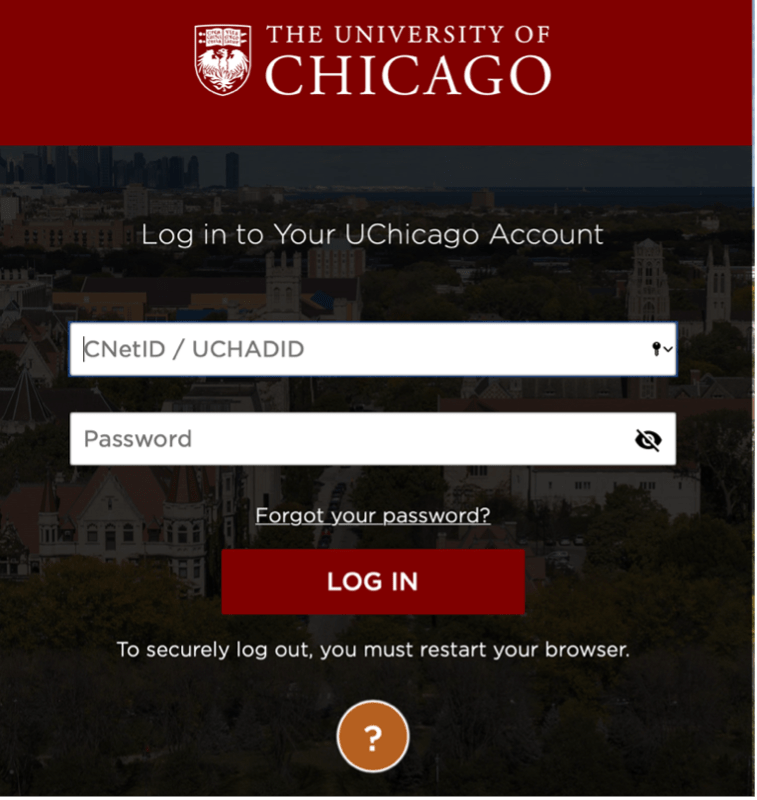
- At this point, you will be redirected to the Shibboleth login page. Enter your CNet ID and password and click log in. Complete the Duo 2Factor authentication to continue.
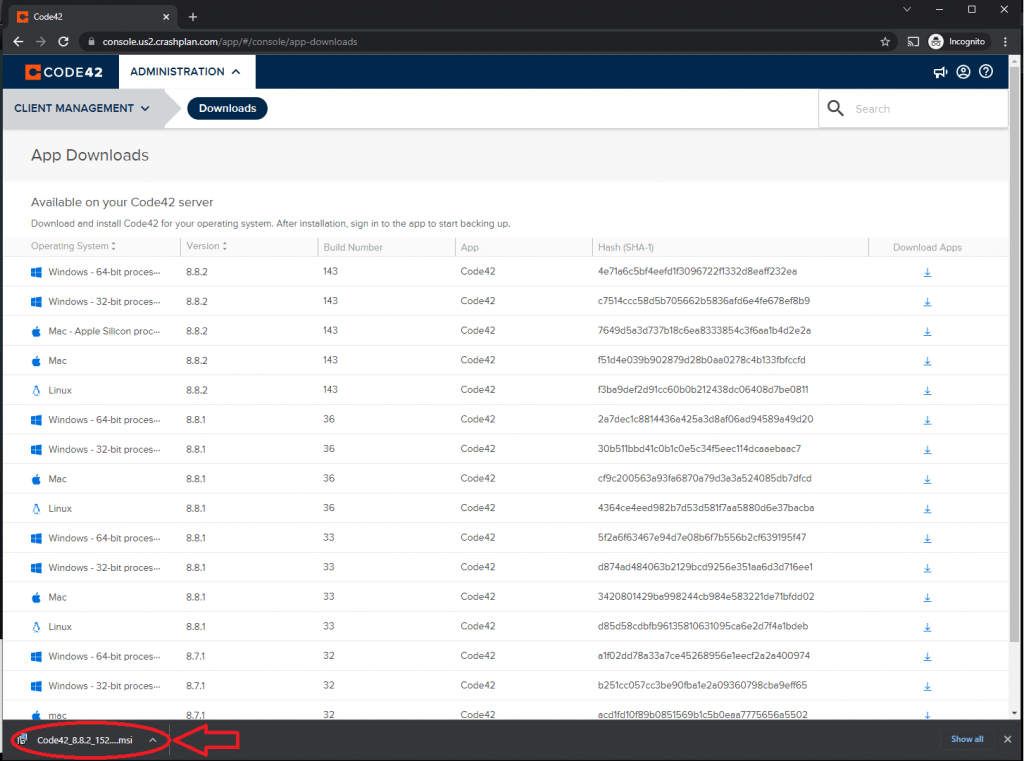
- Once logged in navigate to the Administration drop down menu in the upper left corner of the window. Click Downloads from the menu
- On the next screen select the correct download for your computer
- Once the installer package downloads, open the Code42 installation package
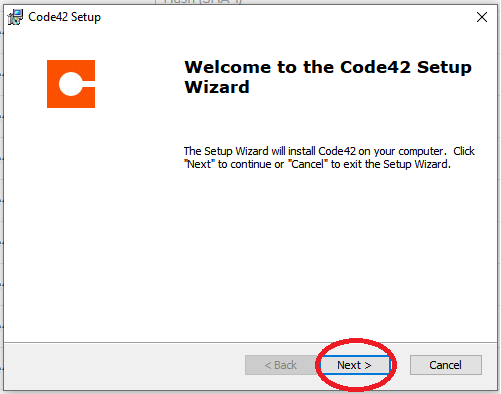
- Click the Next button when the Introduction screen appears
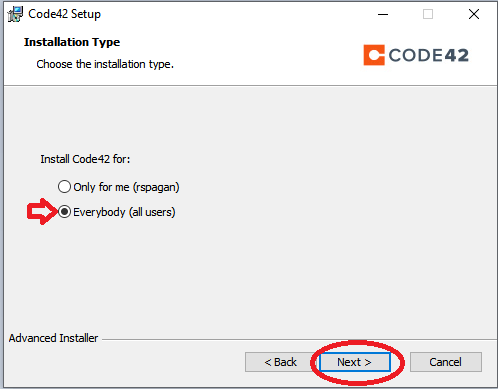
- On the Installation Type screen select “Install Code42 for: Everybody (all users)” if this is NOT a shared computer and click Next to continue
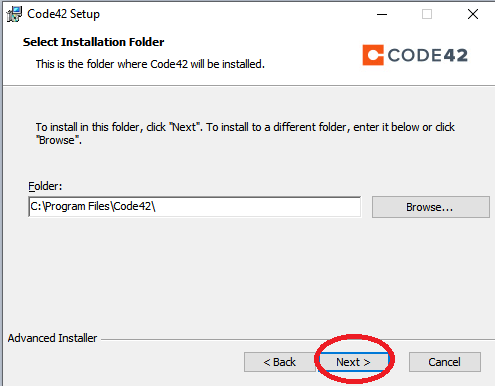
- On the Select Installation Folder screen, click the Next button to continue
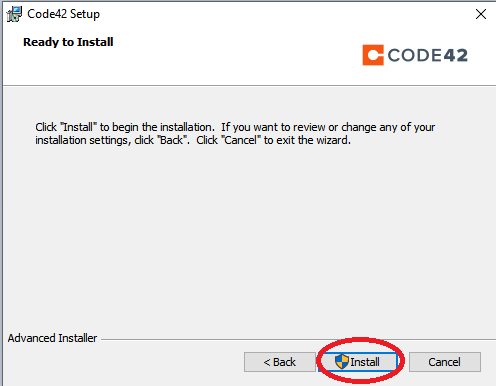
- When asked via pop-up screen, click OK to allow the installation, then Install once you’ve returned to the Ready to Install screen
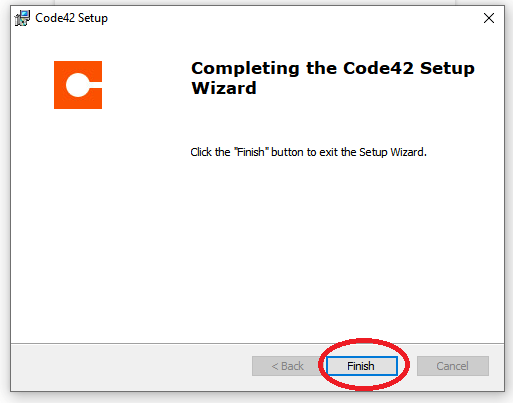
- Click the Finish button to end the installation package
Logging In & Configuration
Once the Code42 installation is completed, the application will open on its own for the first time. If Code42 does not open, launch Code42 from the list of programs in the Start menu on your computer.
- Enter your full UChicago email address in the Username field and central.crashplan.com:4282 in the Server Address field and click Continue
- At this point, you will be redirected to the Shibboleth login page. Enter your CNet ID and password and click log in. Complete the Duo 2Factor authentication to continue.
- The following screen will present two options: “Add New Device” or “Replace Existing”. For a first-time installation click the “Add New Device” button
- The next screen will prompt to confirm your selection of adding a new device. Click the Yes button to continue.
The following screen shows Code42 scanning the computer preparing for the first backup. Before Code42 can upload the prepared files to the backup server Code42 must be given “Full Disk Access” in the System Preferences for the computer.