Scheduling appointments is possible with a Microsoft app called Bookings. It can be setup one of three ways: on your computer, an android device, or an Apple device.
What is Microsoft Bookings?
Microsoft Bookings is a tool for scheduling appointments according to your availability. Simply setup the Microsoft Bookings application on your mobile device, publish your bookings page, and clients will be able to reserve time with you.
For the most up to date information about Microsoft Bookings, see https://www.microsoft.com/en-us/microsoft-365/business/scheduling-and-booking-app
How do I get Microsoft Bookings?
Microsoft Bookings is available as a mobile device application as well as an online application. It is tied to your Office 365 account, which is the same as your @uchicago.edu E-Mail address.
To use Bookings…
On your computer: Navigate to https://outlook.office365.com/bookings/
On your Android: Search Microsoft Bookings in the Google Play Store, or click https://play.google.com/store/apps/details?id=com.microsoft.exchange.bookings
On your Apple Device: Search Microsoft Bookings in the AppStore, or click https://apps.apple.com/us/app/microsoft-bookings/id1065657468
How do I setup Microsoft Bookings?
On your computer: No setup required, simply use your browser to access https://outlook.office365.com/bookings/.
On Android:
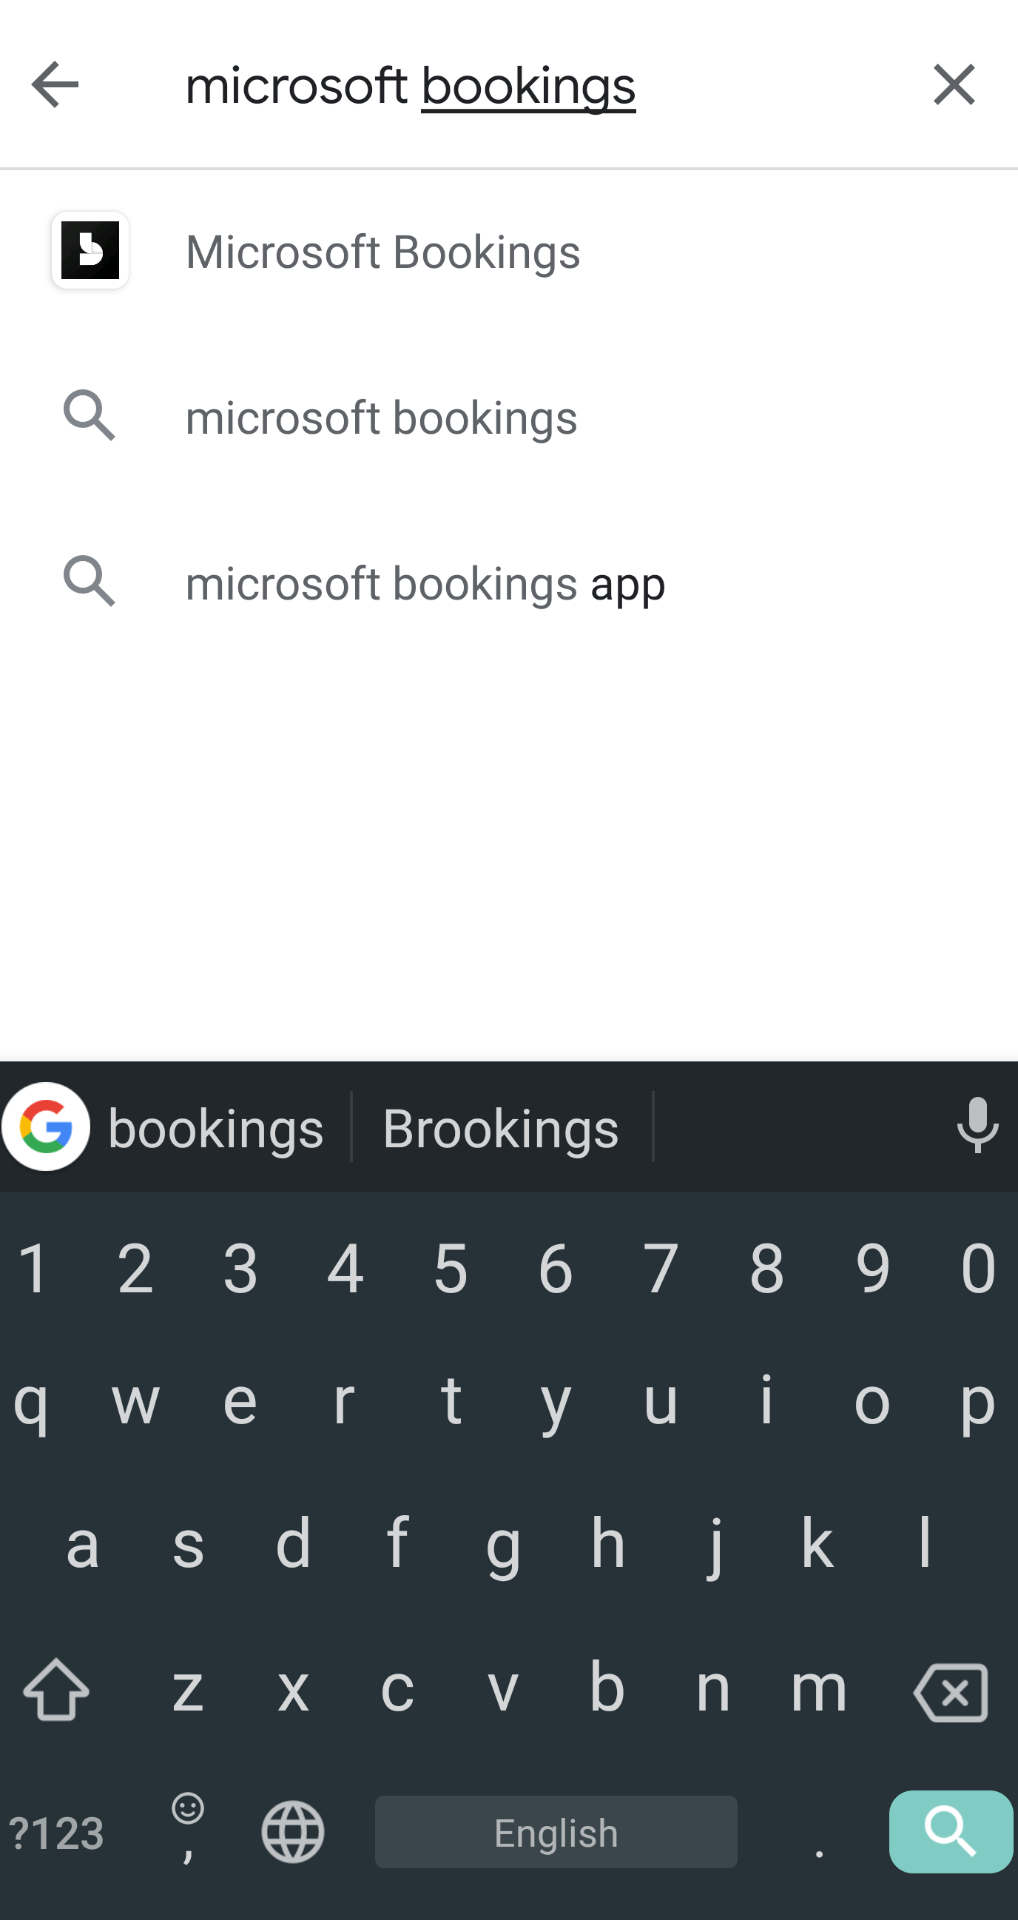
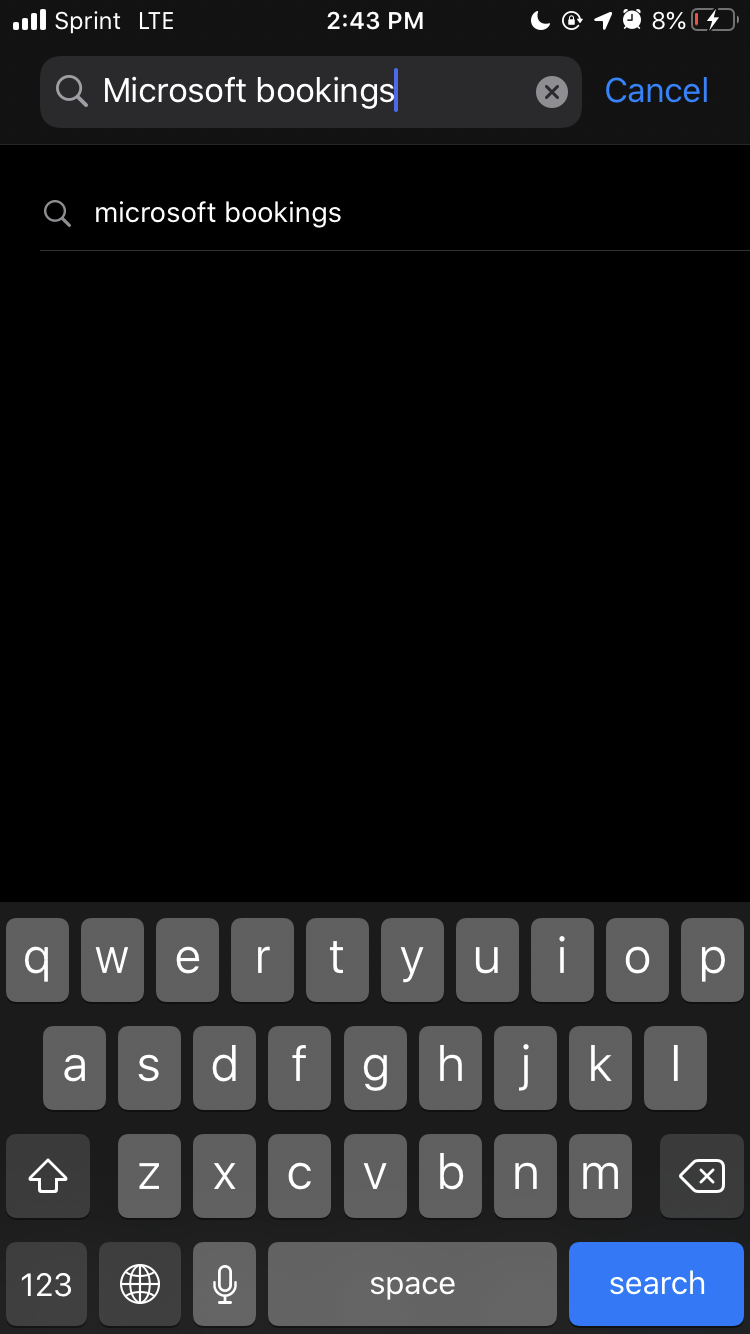
- Open the Google Play Store application on your mobile device and search for “Microsoft Bookings”
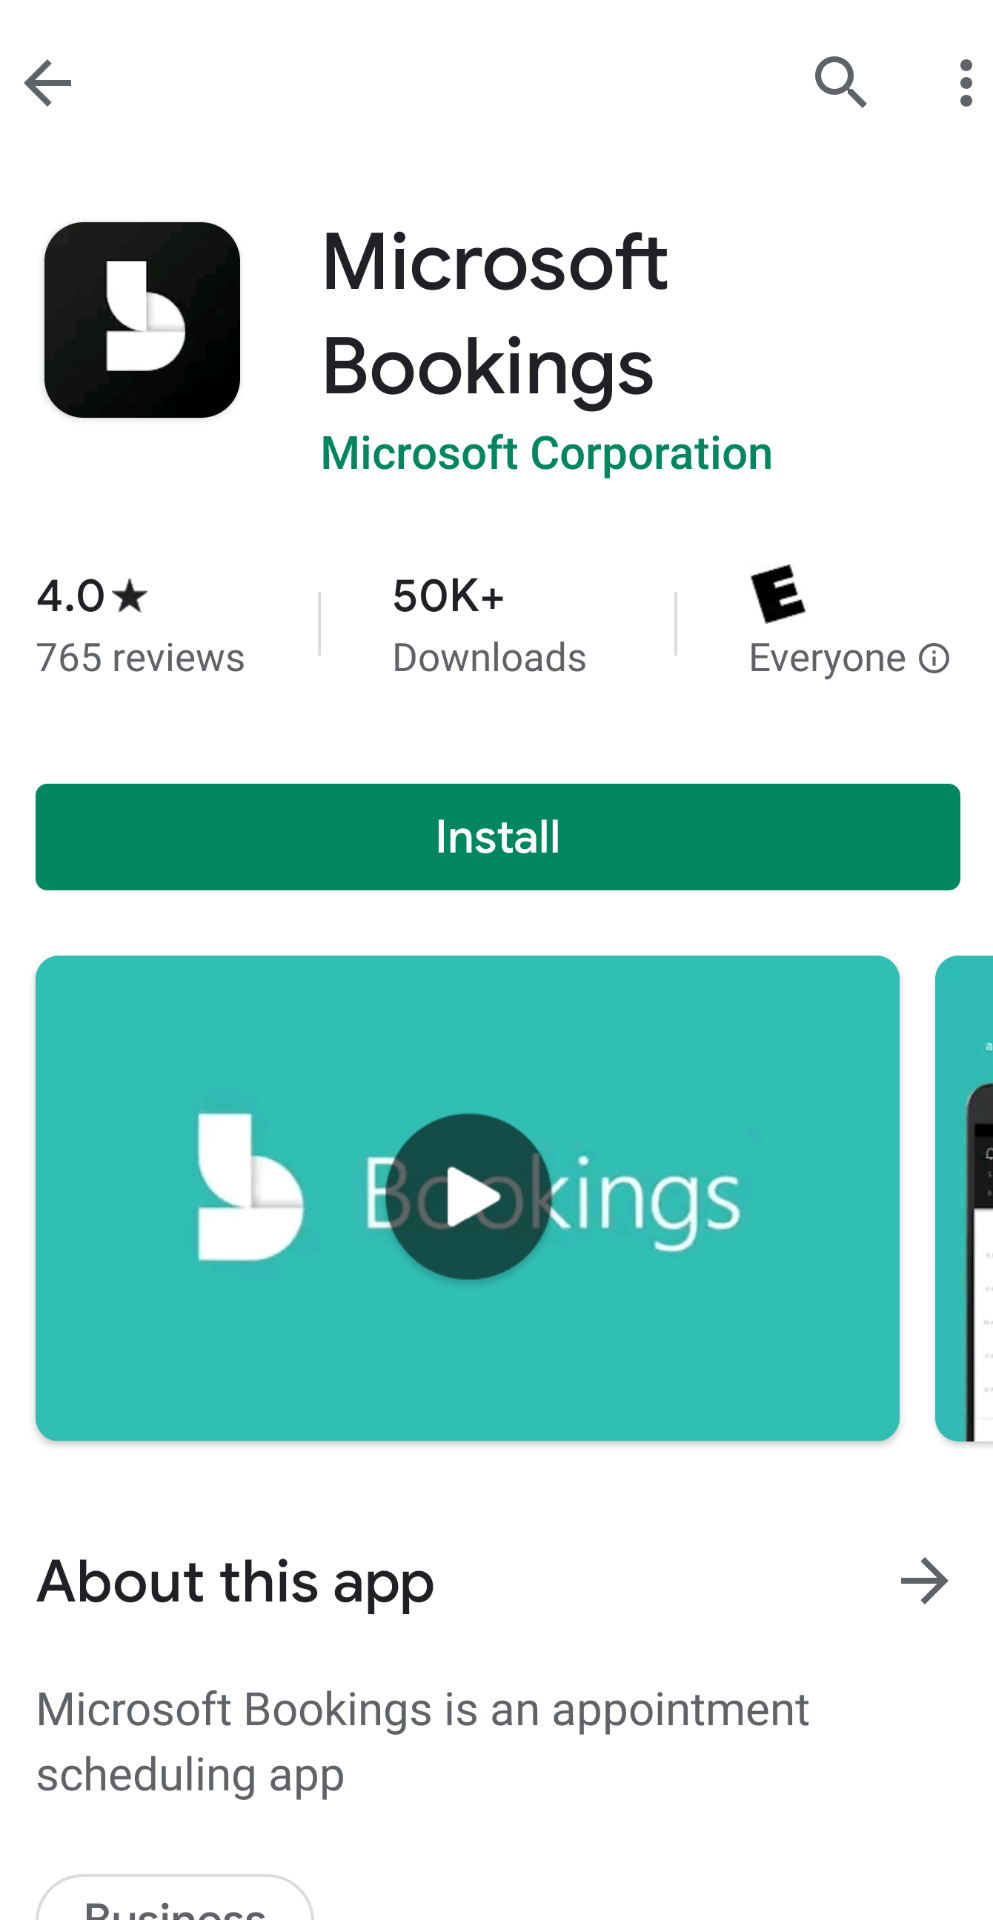
- Tap the Install button
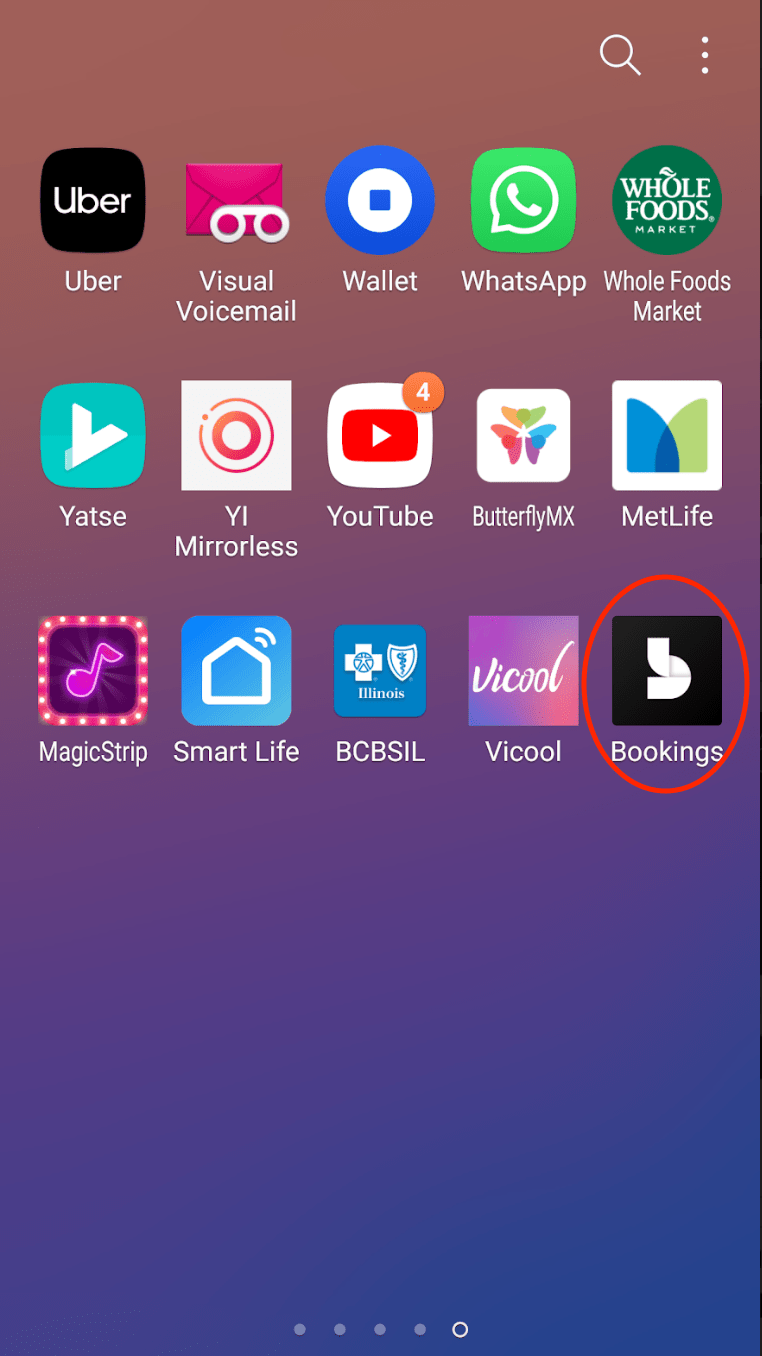
- After the application has installed, an icon will appear in your app launcher. Tap the button to access your app launcher, then tap the Bookings icon.
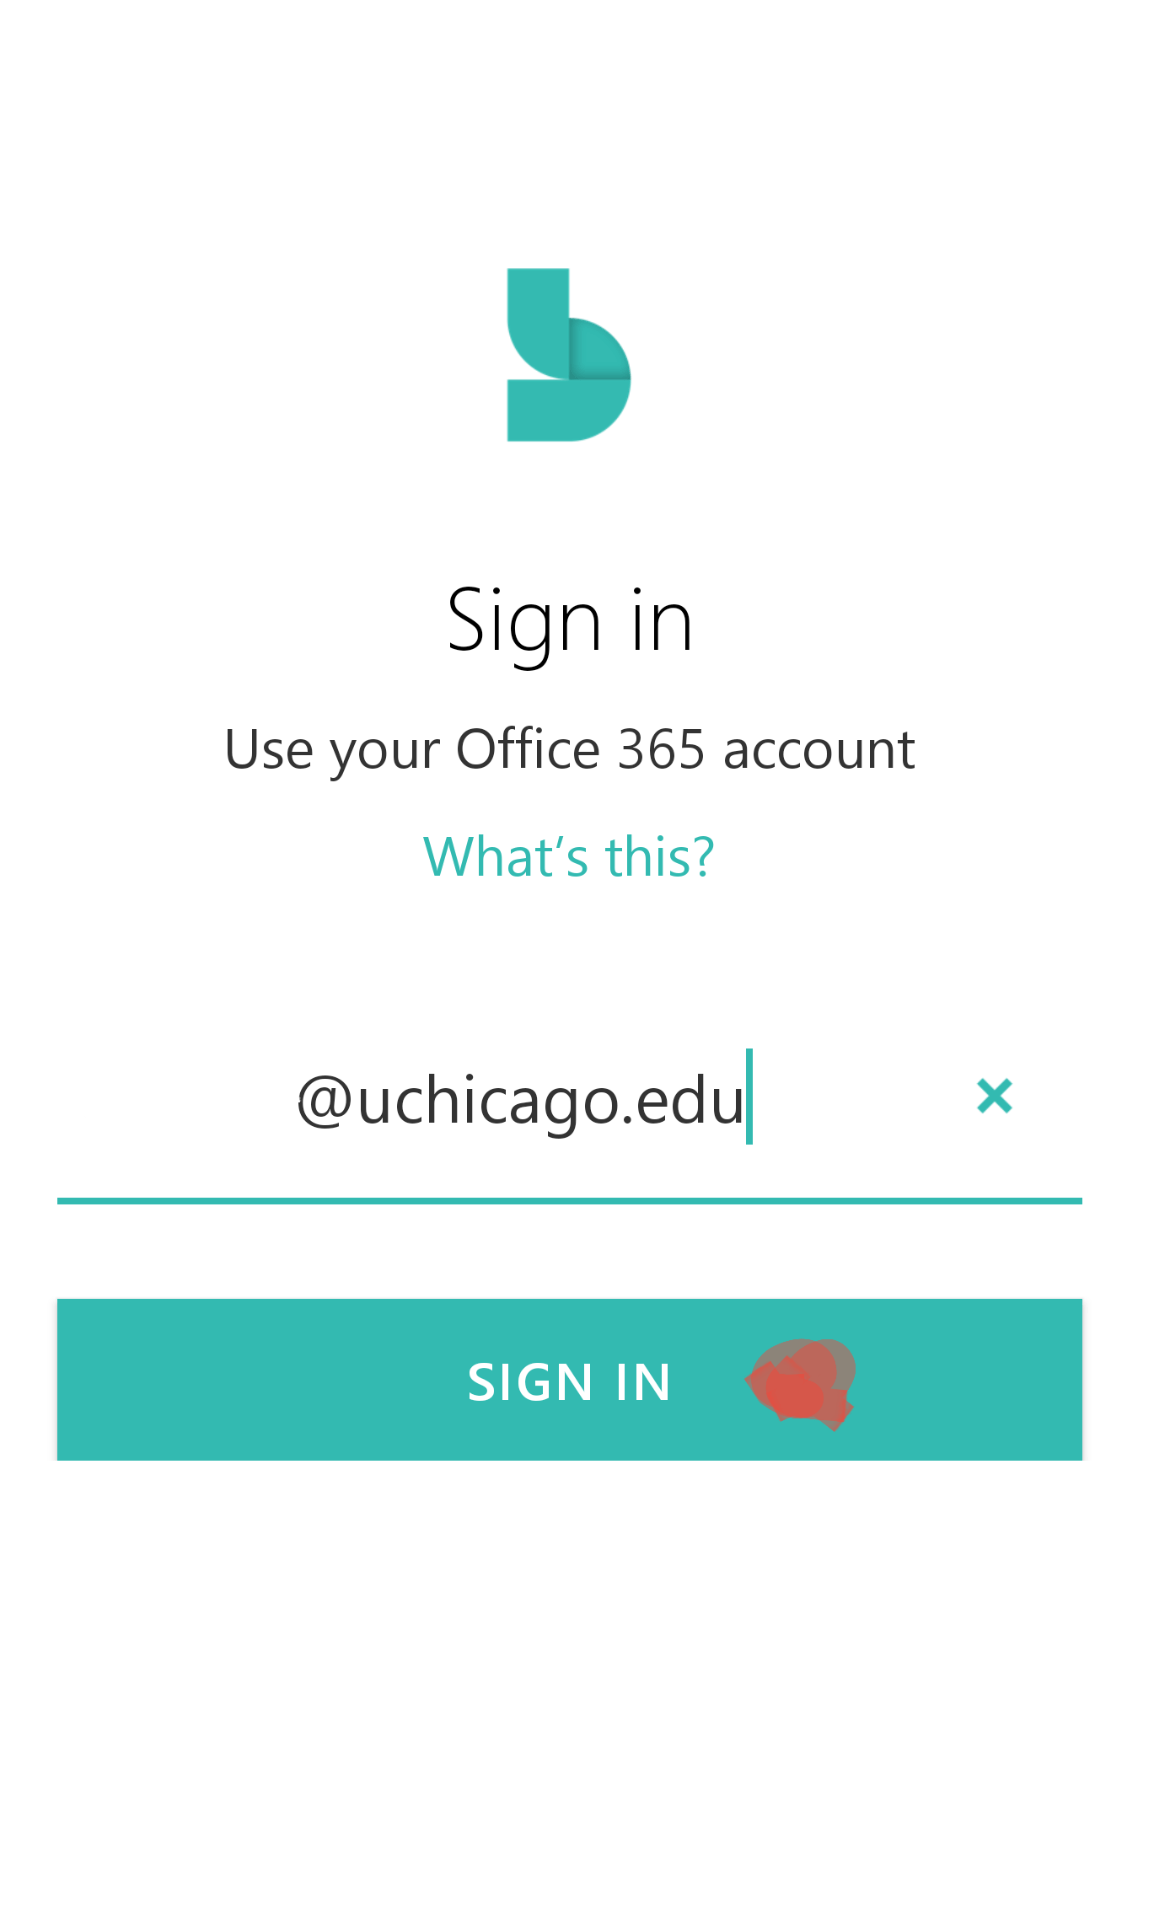
 Microsoft Bookings may take a few moments to prepare the application the first time it is opened. Sit tight.
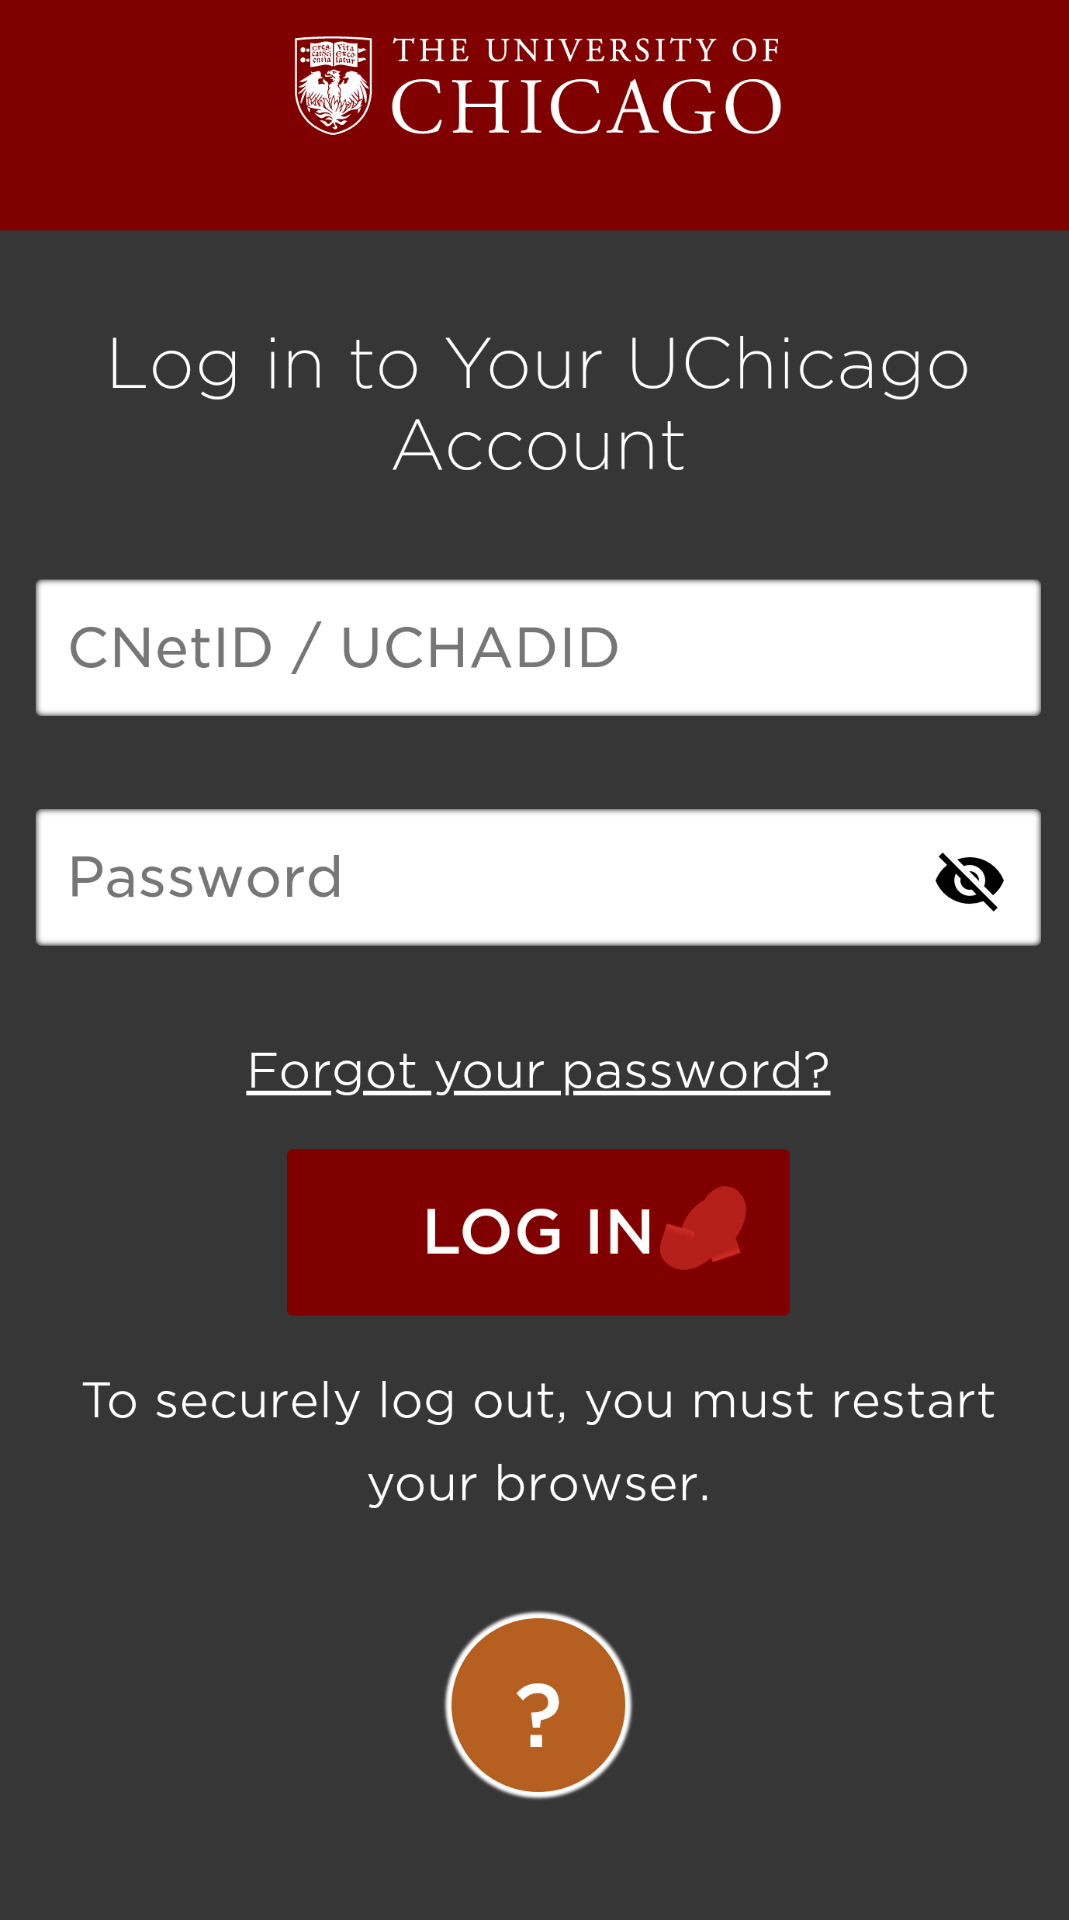
 - Once Bookings is ready, it will ask for you to Sign in. You’ll use your Office 365 account to sign in. Enter your @uchicago.edu E-Mail address here, press Sign In, and you will be redirected to the University of Chicago Shiboleth Authentication page where you must enter your CNET credentials and perform 2-Factor Authentication.
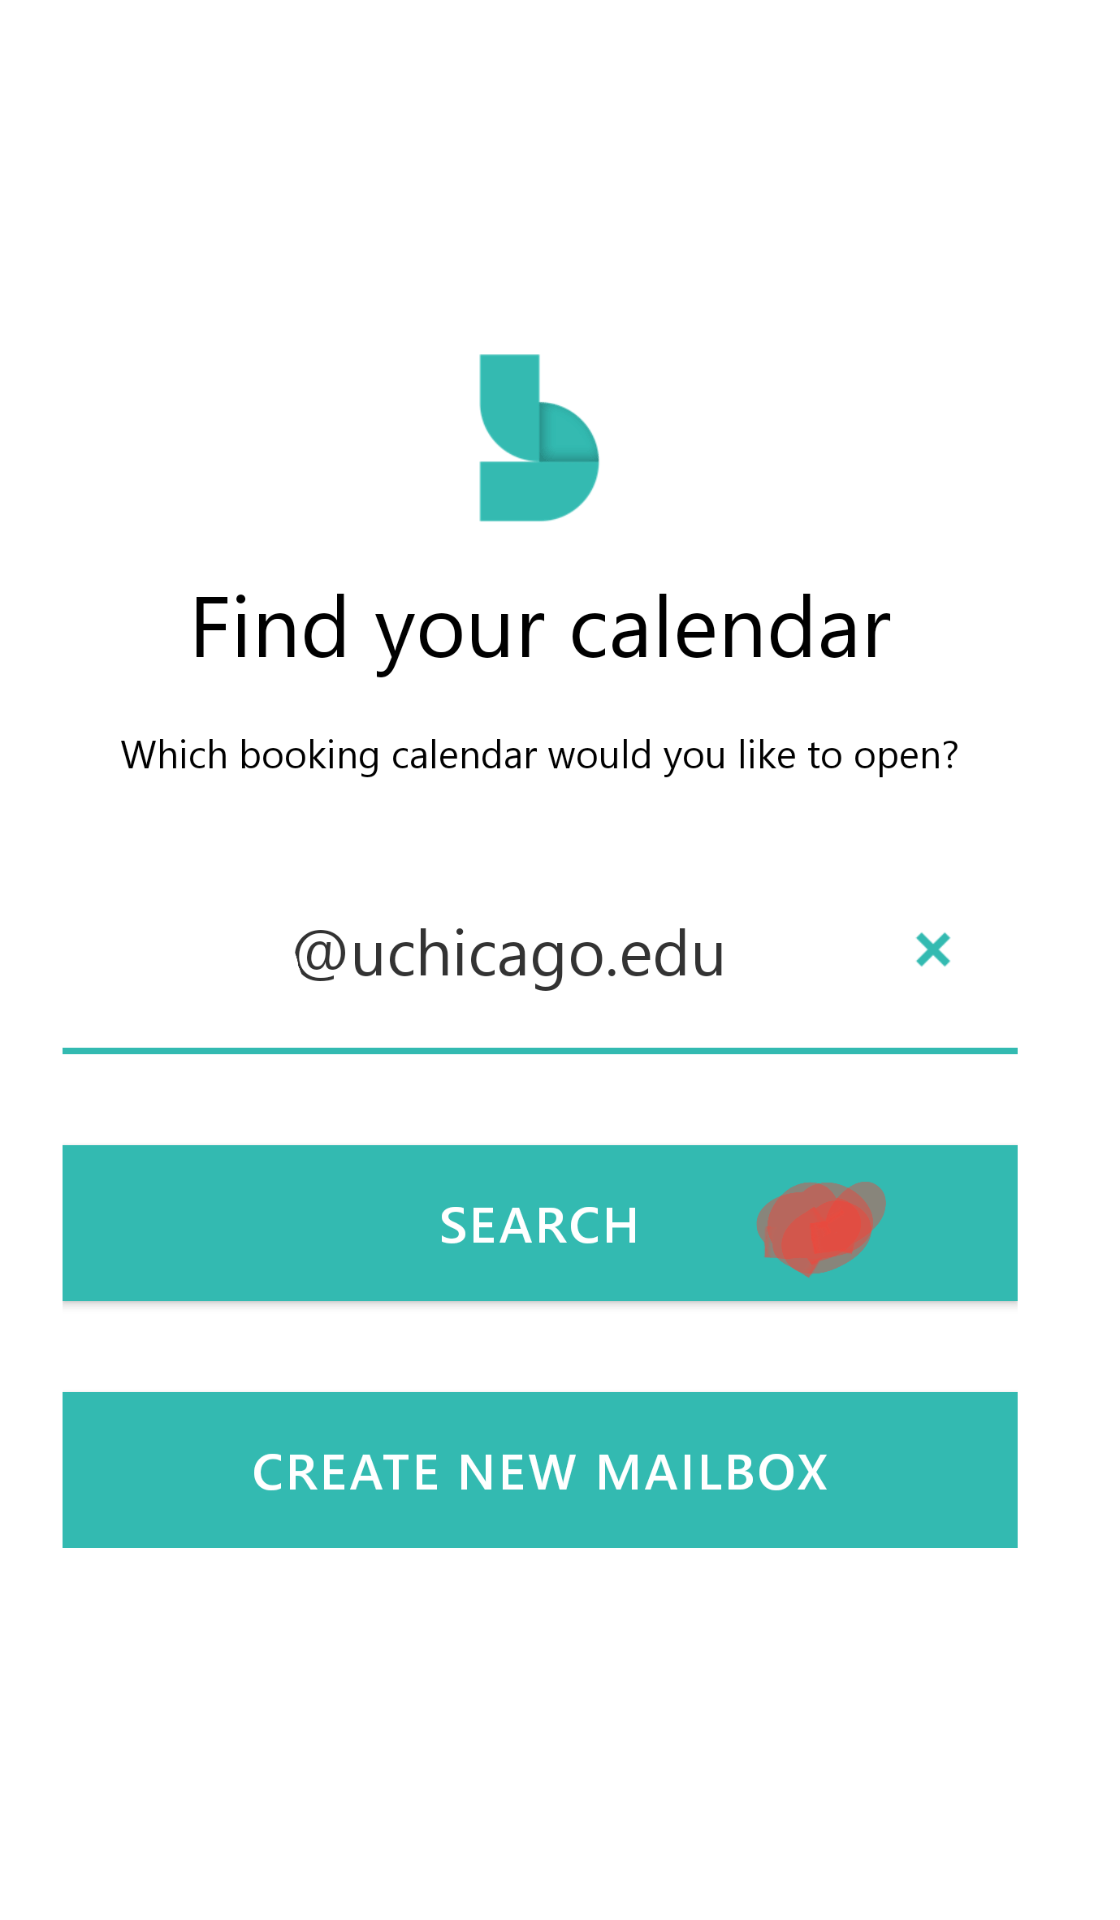
- After signing in, you’ll need to setup a calendar. You can search for your @uchicago.edu username and add it if it shows up. If it does not show up, you’ll need to create it by clicking the Create New Mailbox button.
- Whether you Create a New Mailbox or find your mailbox in the Search, the Bookings app will take a few moments to setup your calendar.

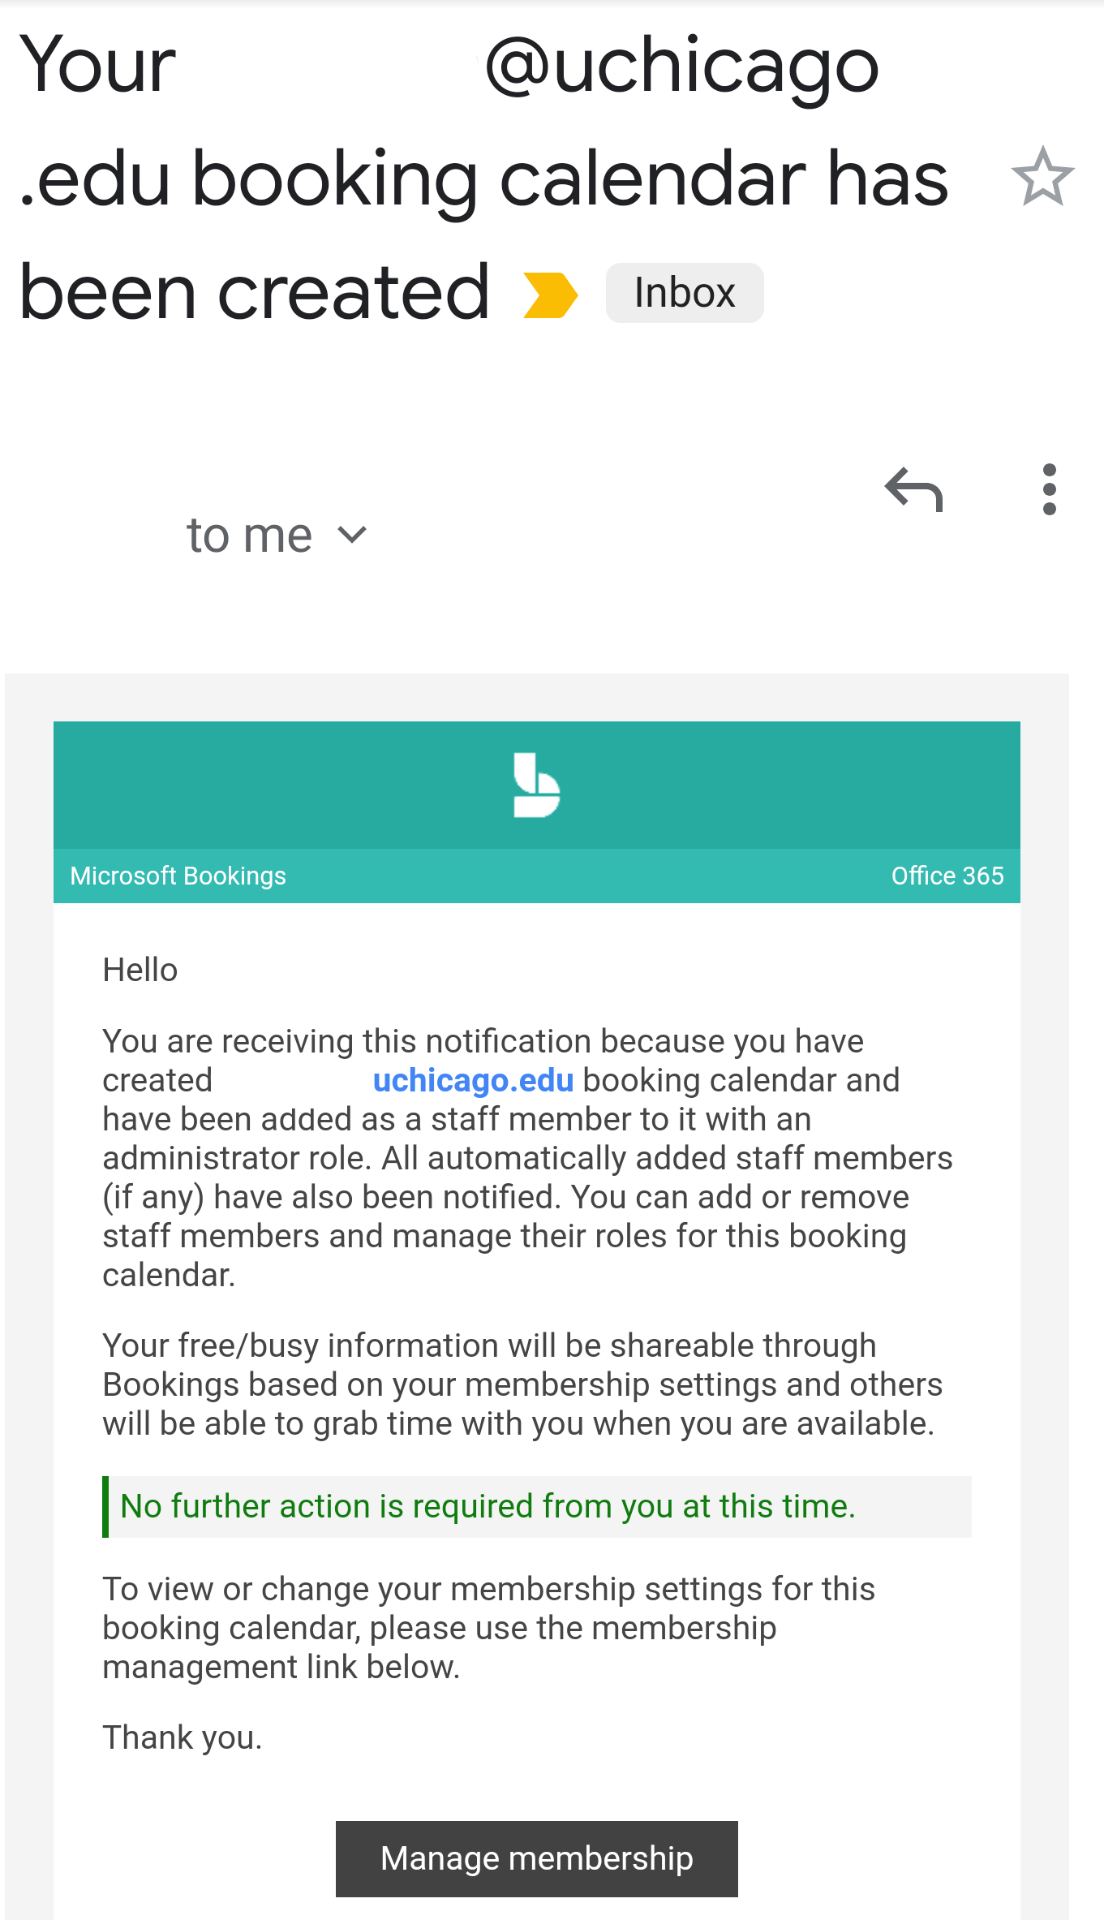
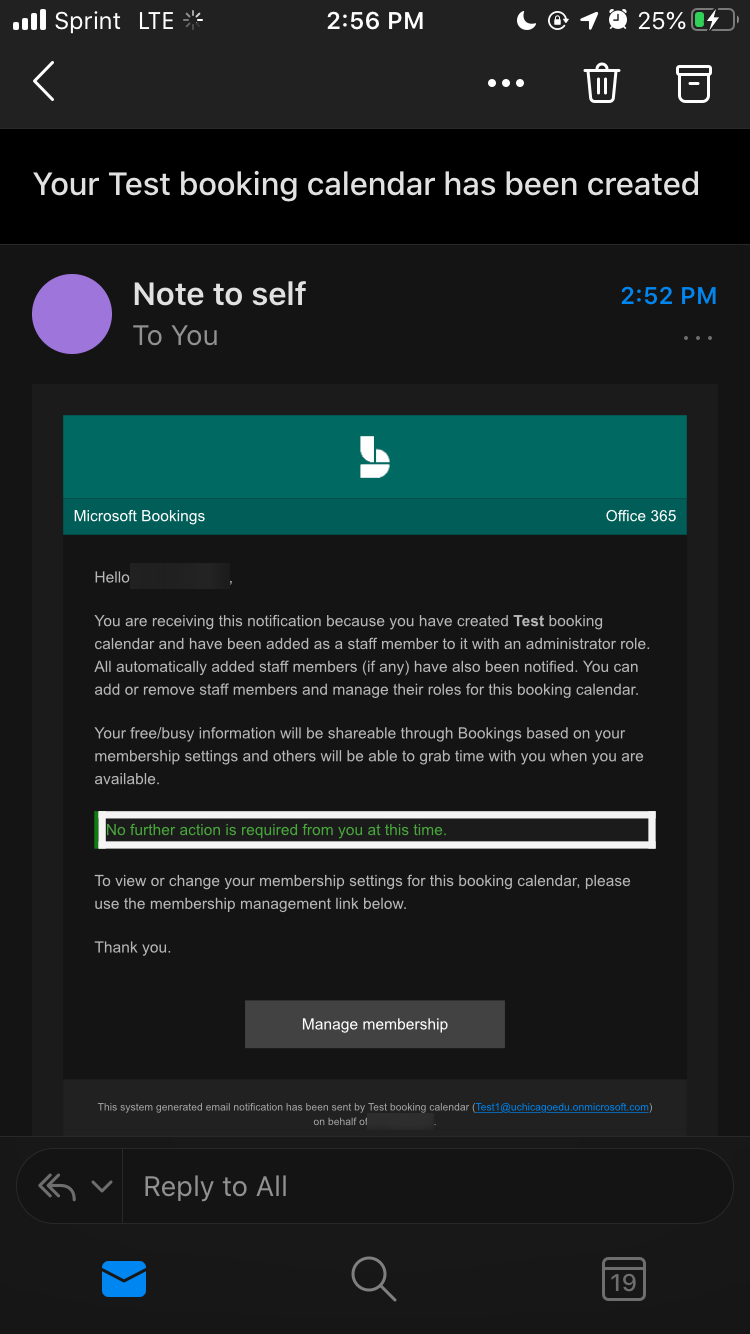
- When your calendar has completed setting up, you’ll receive an E-Mail letting you know that your calendar has been created and that no further action is required to finish activating it.
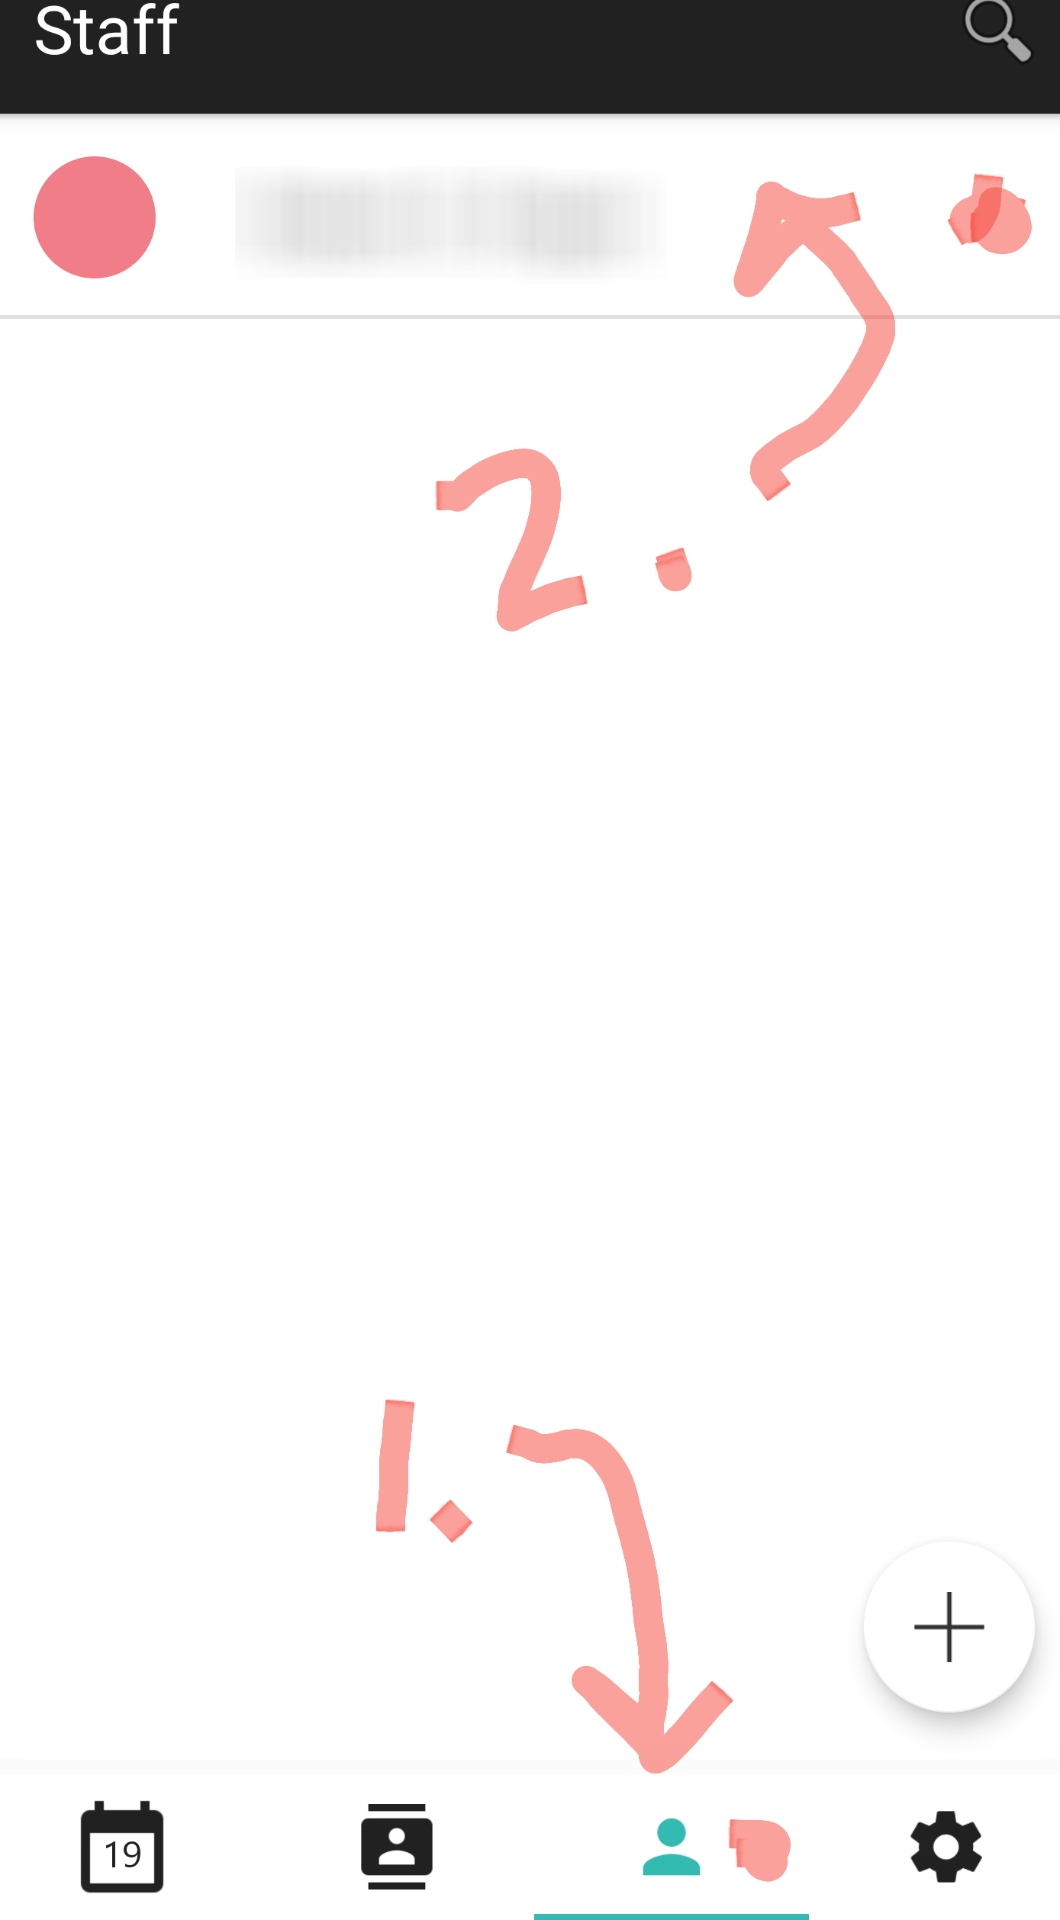
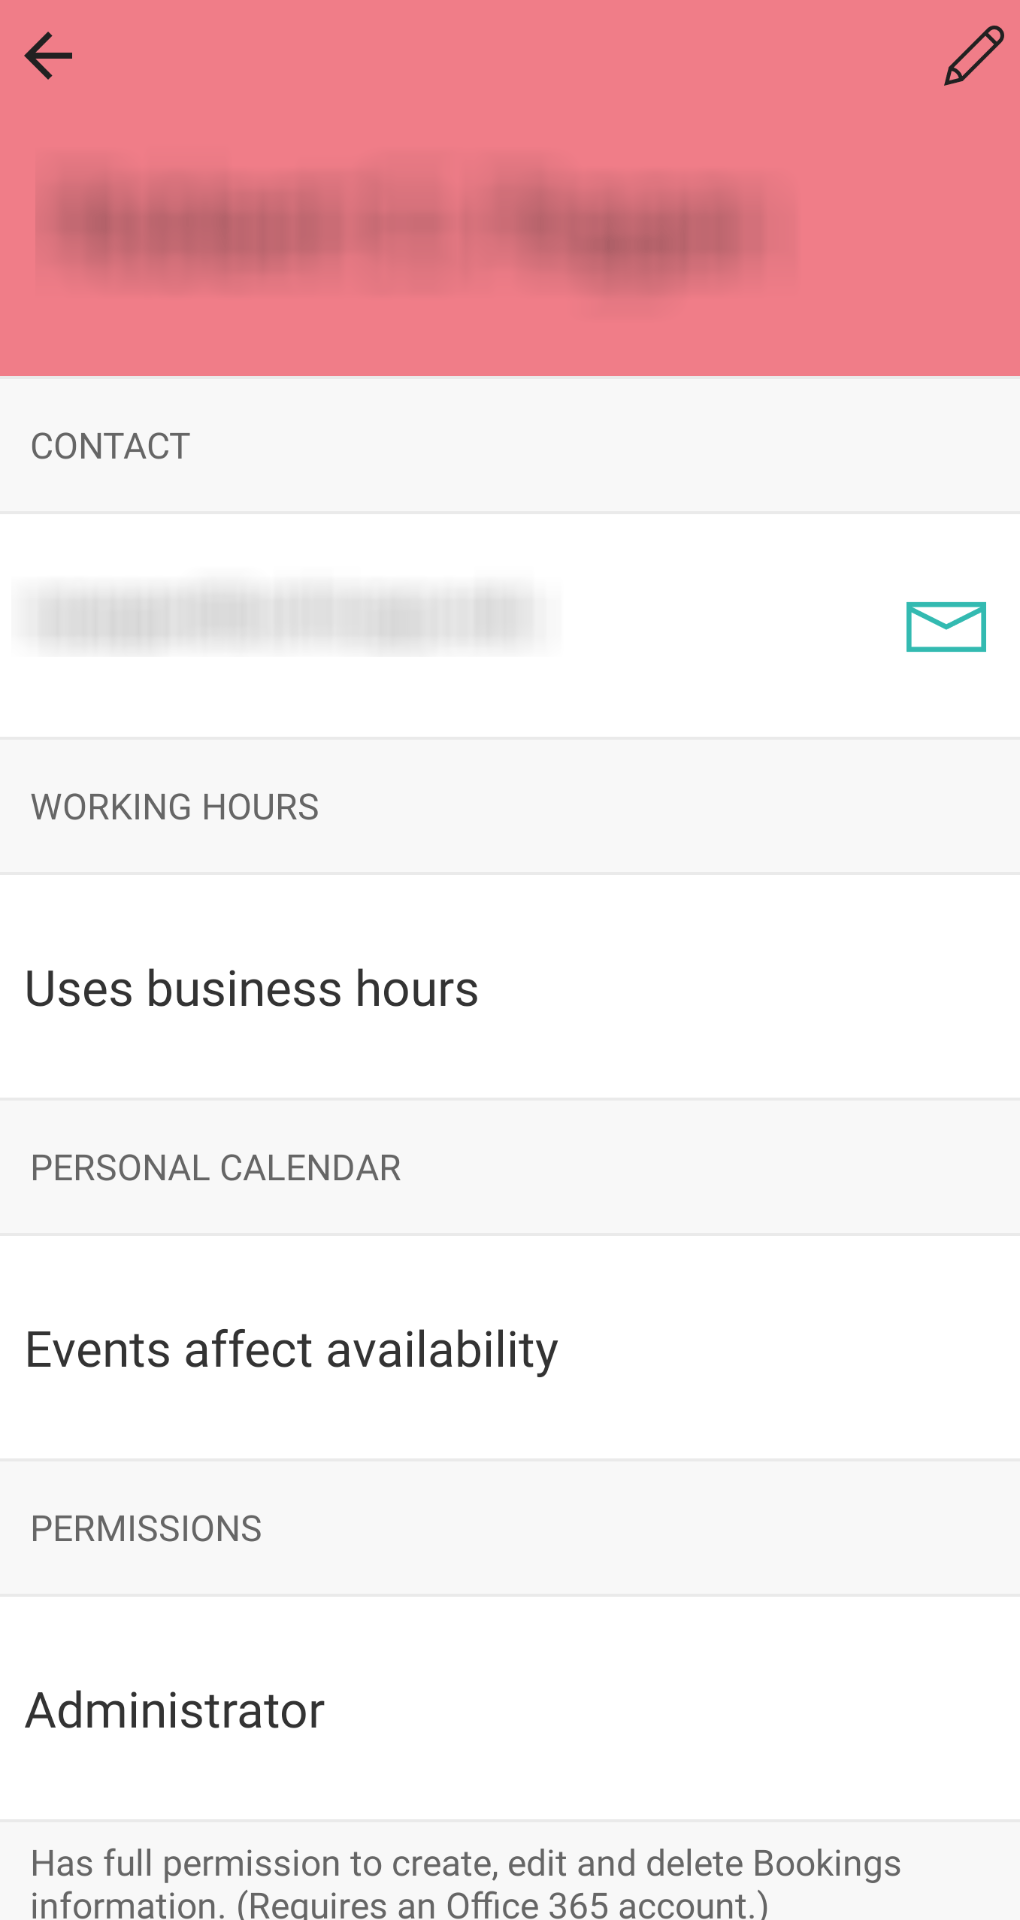
- Next, you’ll need to give Bookings some information about yourself and your availability. Tap the “Person” icon at the bottom of the screen, then tap your name when it appears at the top of the screen.
- Your profile screen will appear and you can tap through each item to select your availability. Tap the back arrow once you’re done.
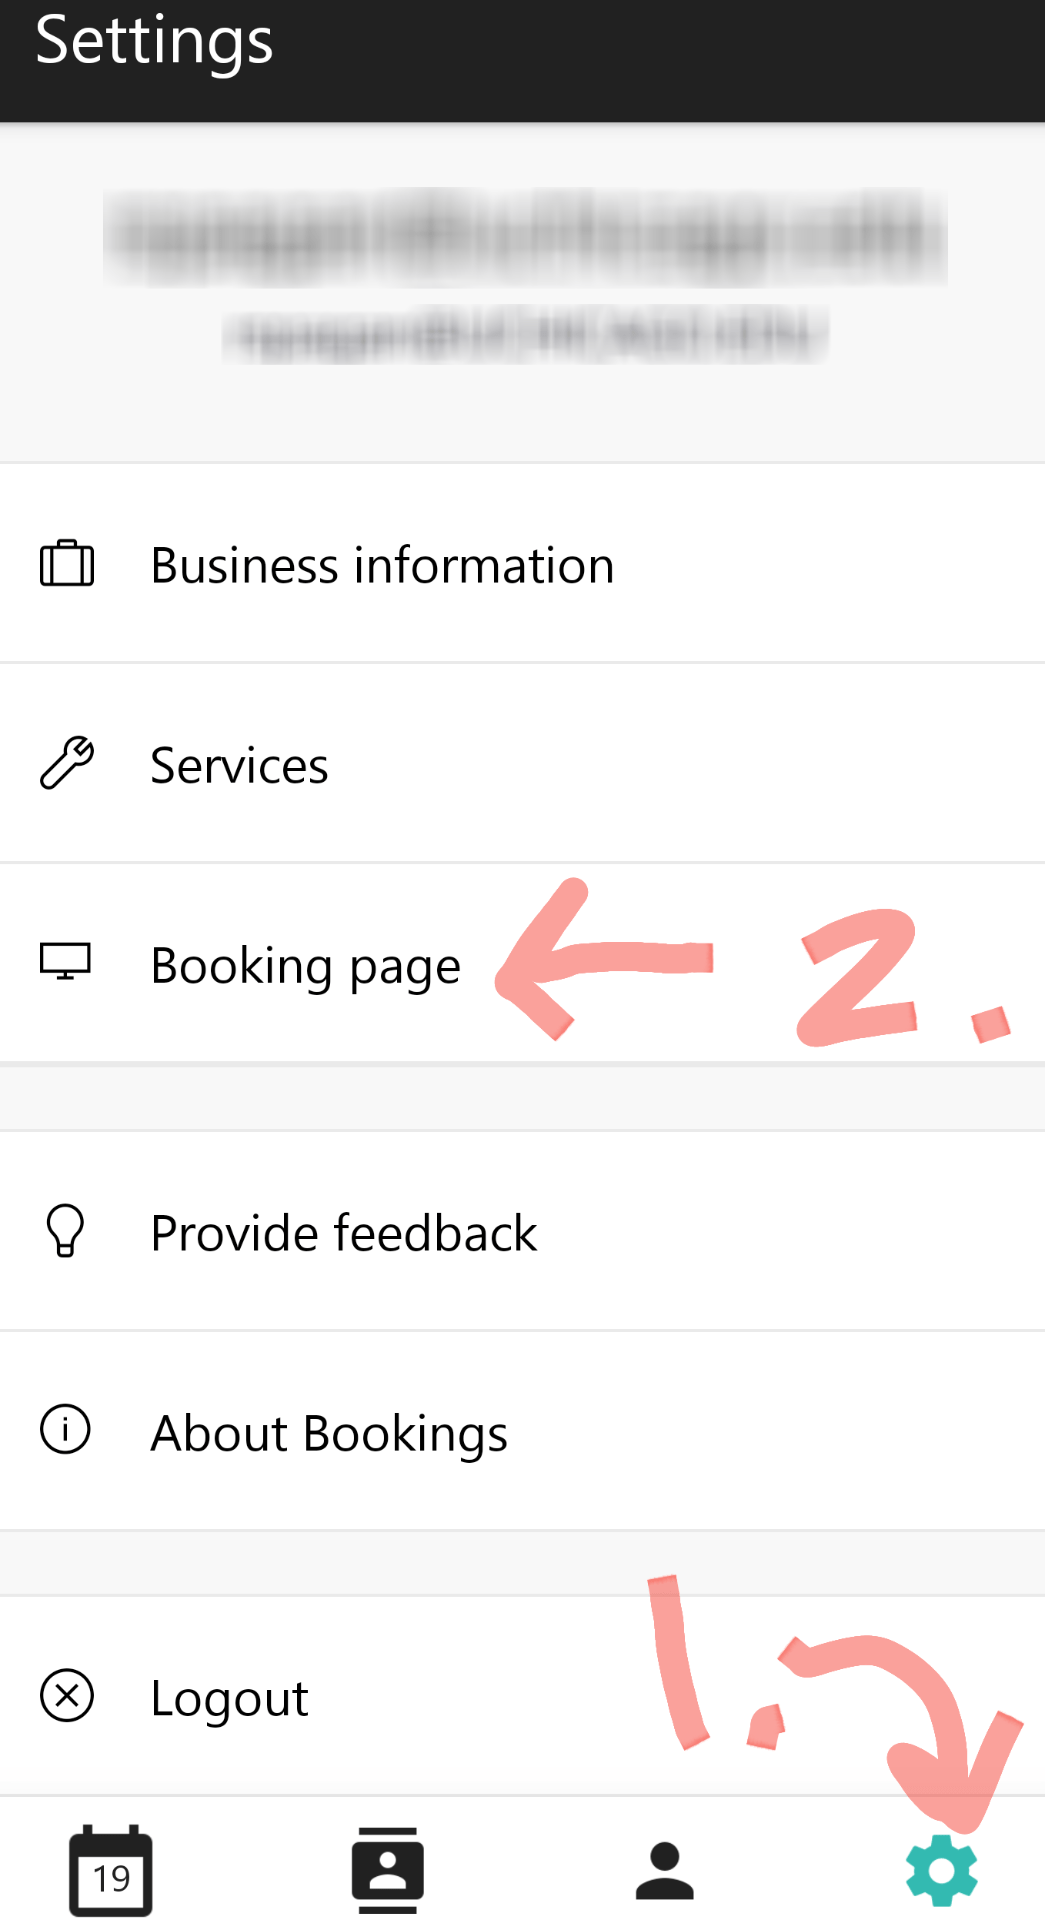
- After you’ve completed setup of your availability, you’ll need to publish your calendar to the world. Tap the gear icon at the lower right of the screen, then tap Booking Page.
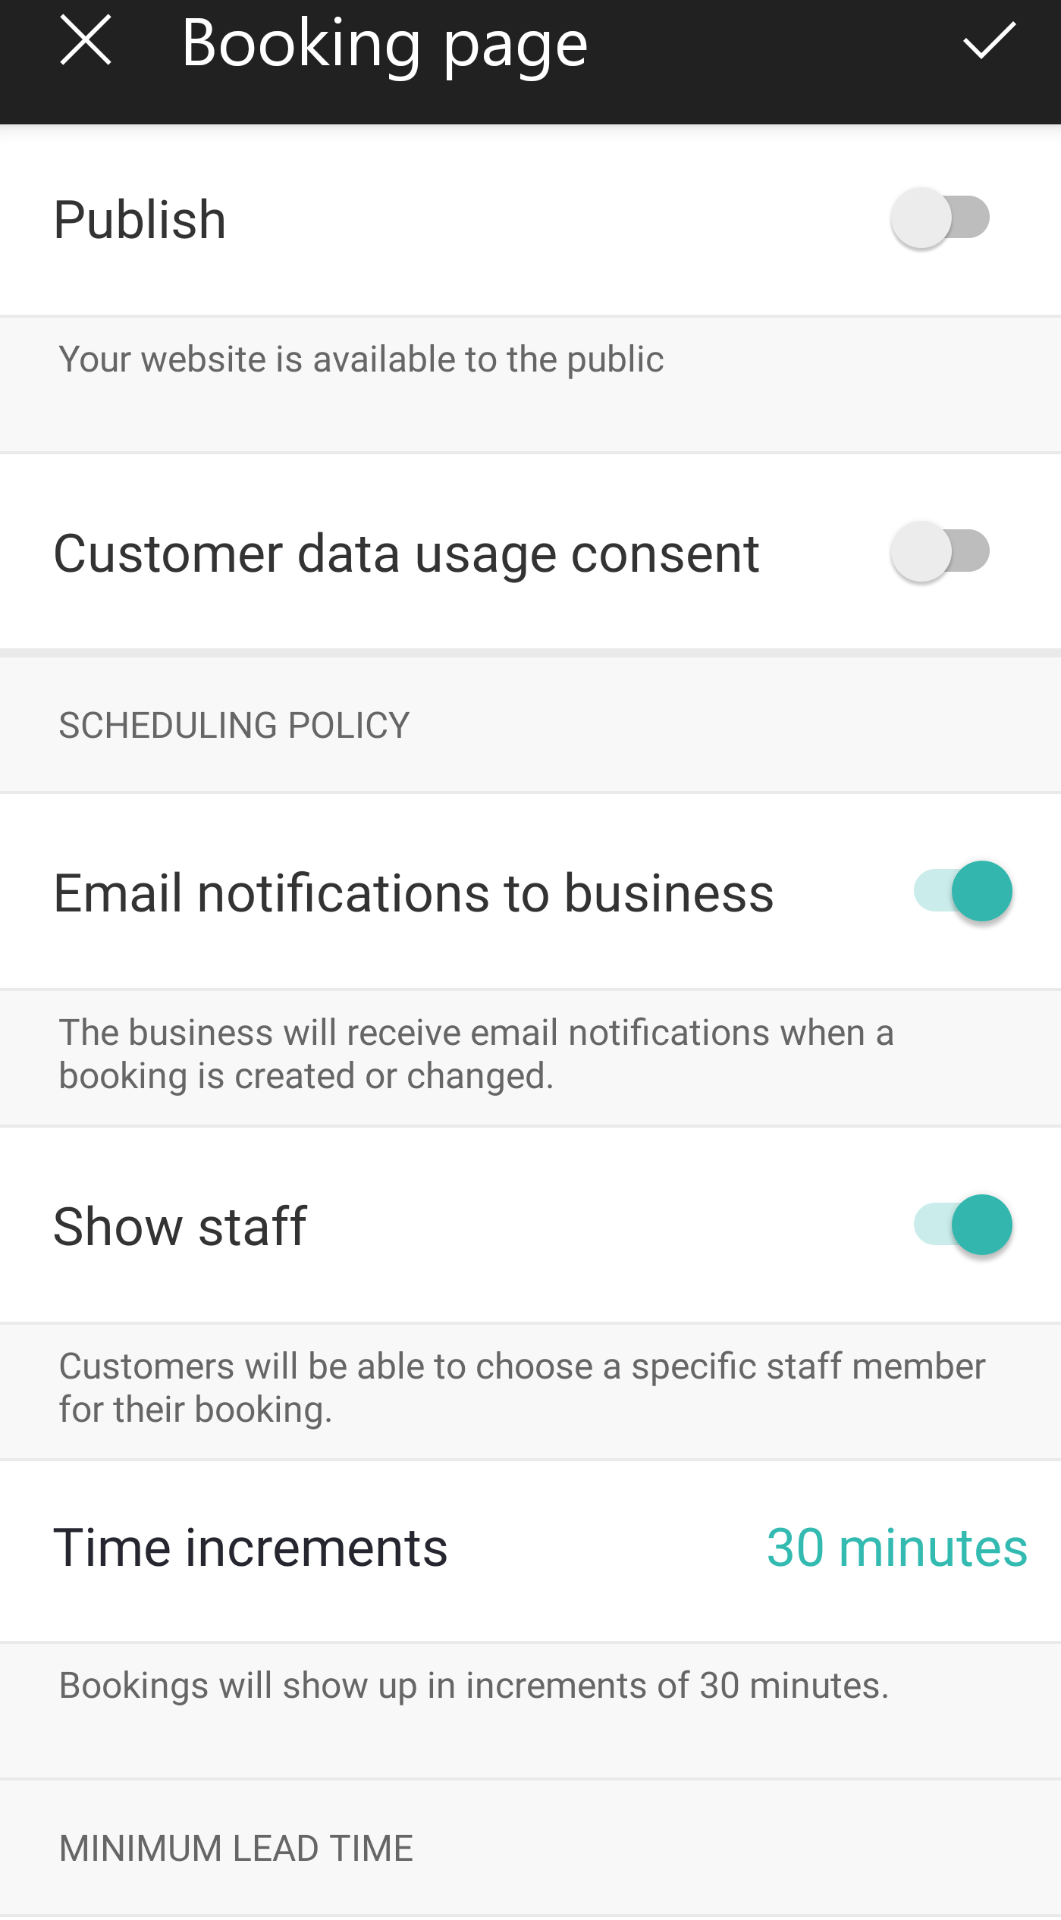
- On the Bookings screen, tap the toggle switch next to Publish to make your Bookings calendar public. Save this change by clicking the checkmark in the top right corner.
You’re all set! Please explore https://outlook.office365.com/bookings/onboarding to take full advantage of the application.
On an Apple device:
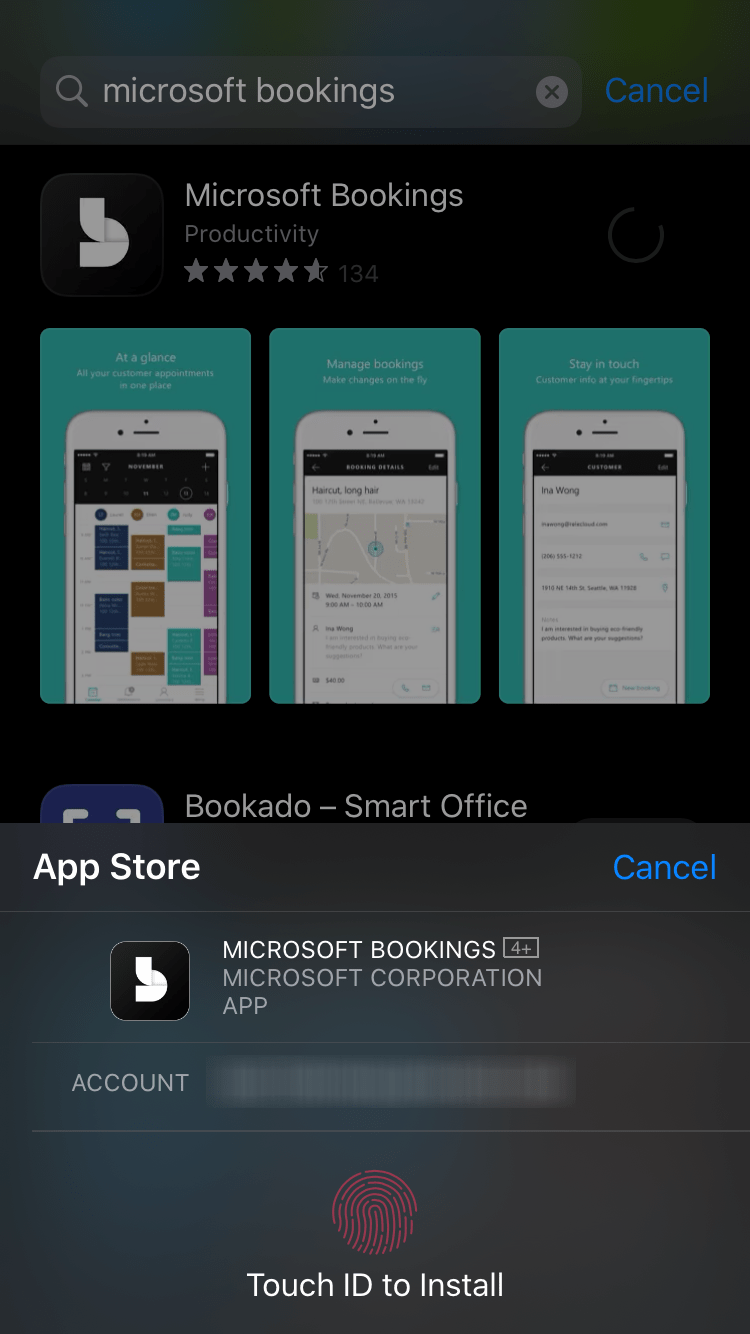
- Open the App Store application on your iOS device and search for “Microsoft Bookings”
- Tap the Get button and allow the purchase (The app is free and you will not be charged)
- After the application has installed, an icon will appear on your home screen. Tap the Bookings icon.
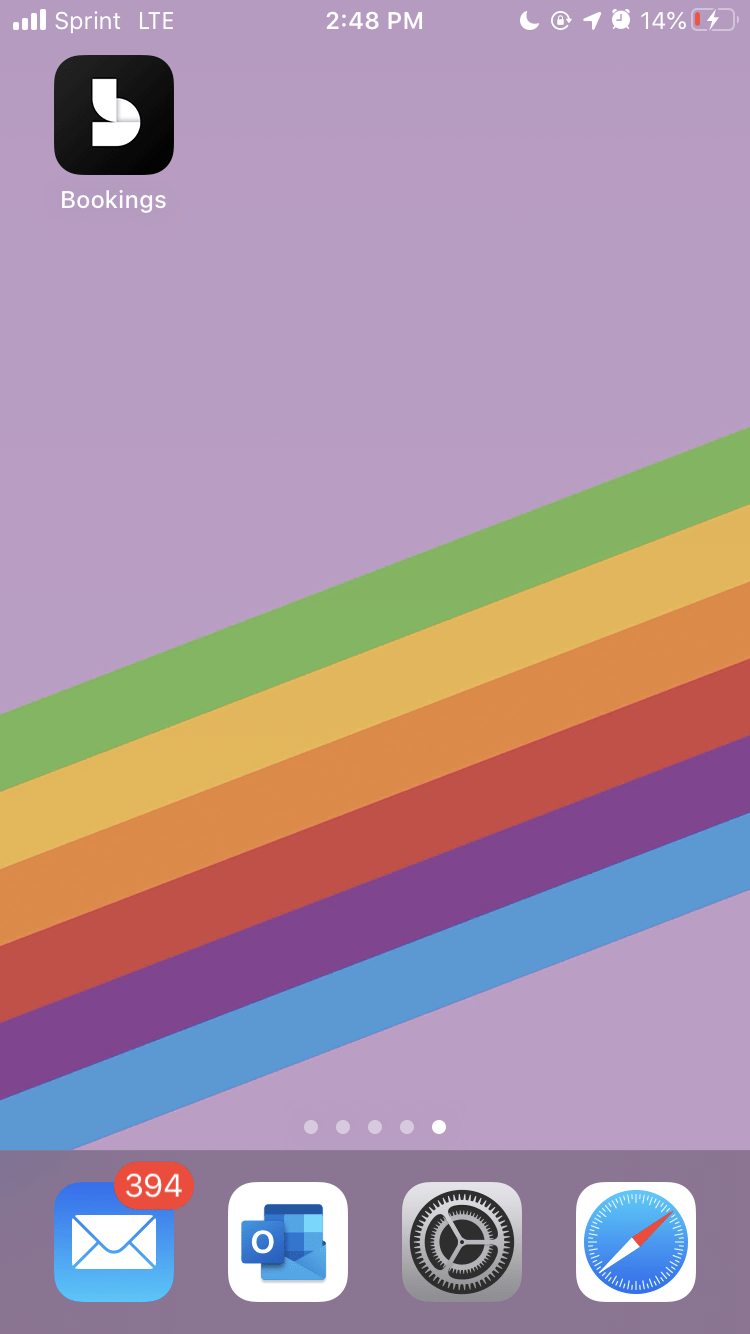 Microsoft Bookings may take a few moments to prepare the application the first time it is opened. Sit tight.
 - Once Bookings is ready, it will ask for you to Sign in. You’ll use your Office 365 account to sign in. Enter your @uchicago.edu E-Mail address here, press Sign In, and you will be redirected to the University of Chicago Shiboleth Authentication page where you must enter your CNET credentials and perform 2-Factor Authentication.


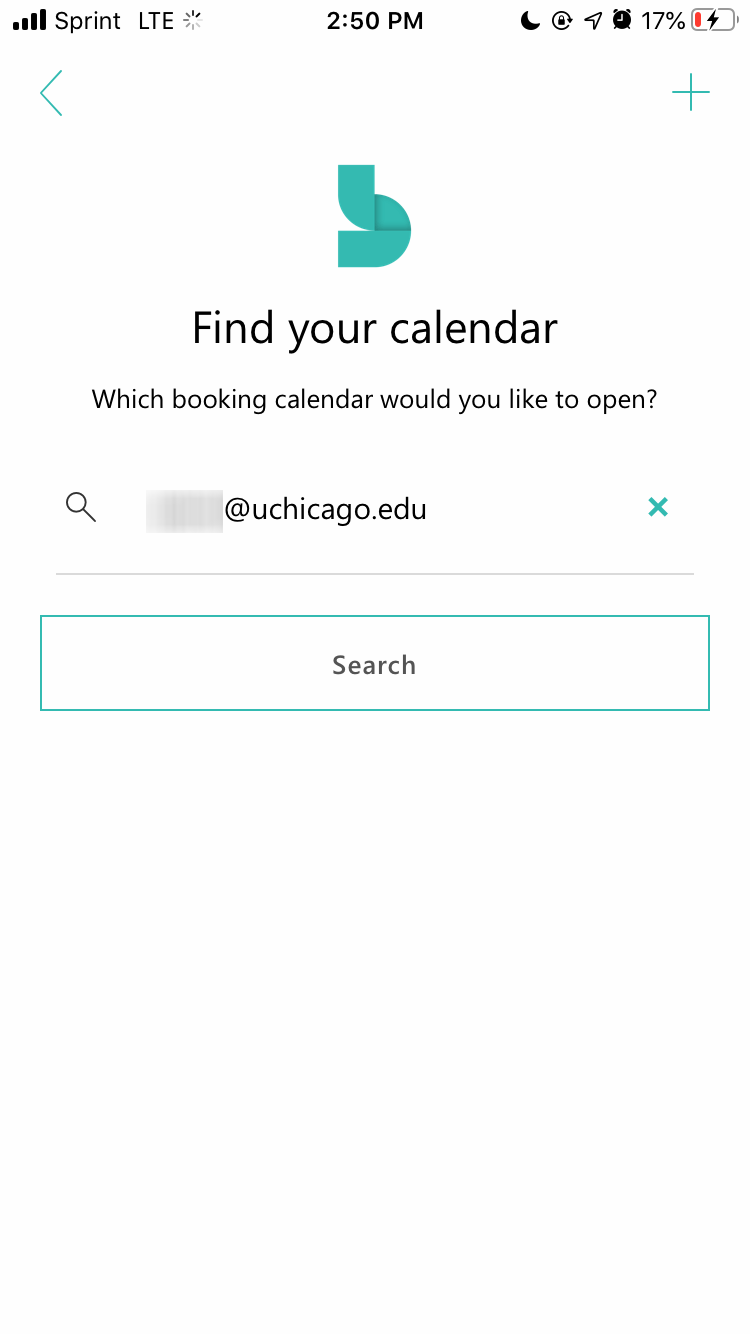
- After signing in, you’ll need to setup a calendar. You can search for your @uchicago.edu username and add it if it shows up. If it does not show up, you’ll need to create it by clicking the Create New Mailbox button in the top right corner.
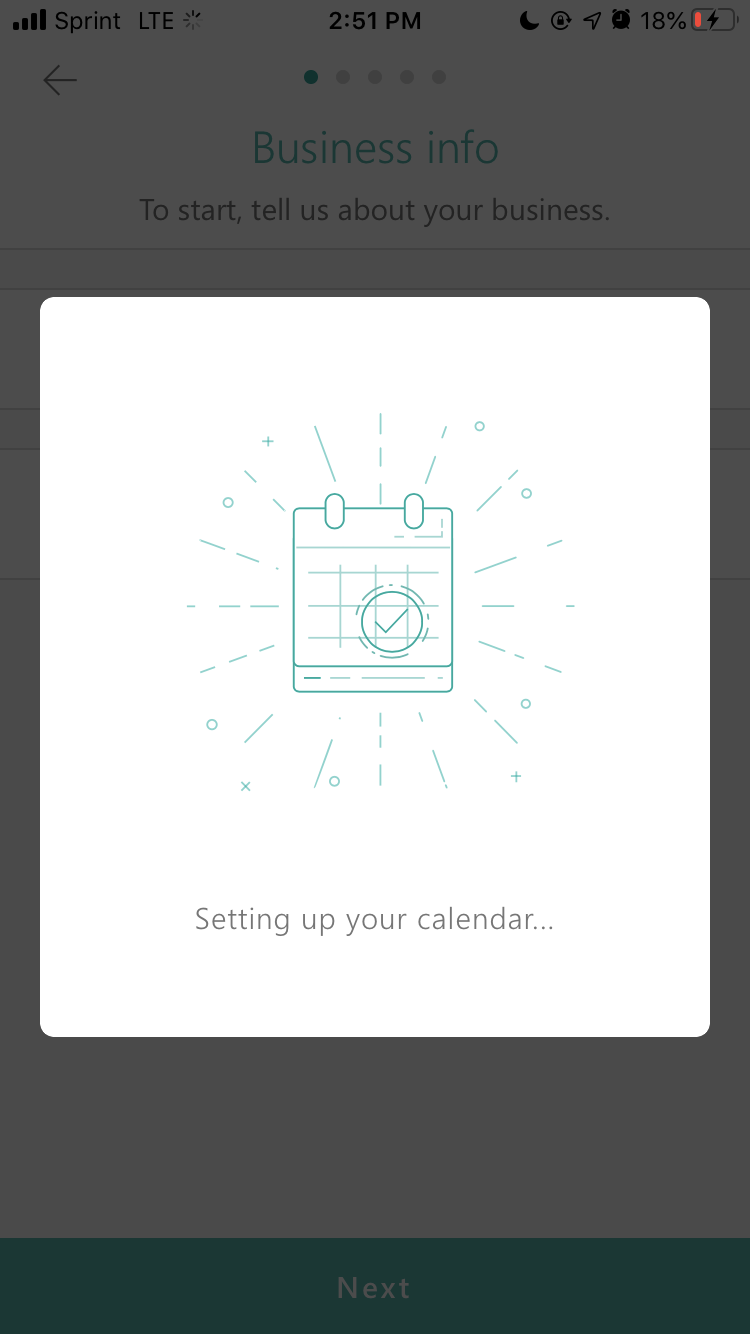
- Whether you Create a New Mailbox or find your mailbox in the Search, the Bookings app will take a few moments to setup your calendar.
- When your calendar has completed setting up, you’ll receive an E-Mail letting you know that your calendar has been created and that no further action is required to finish activating it.
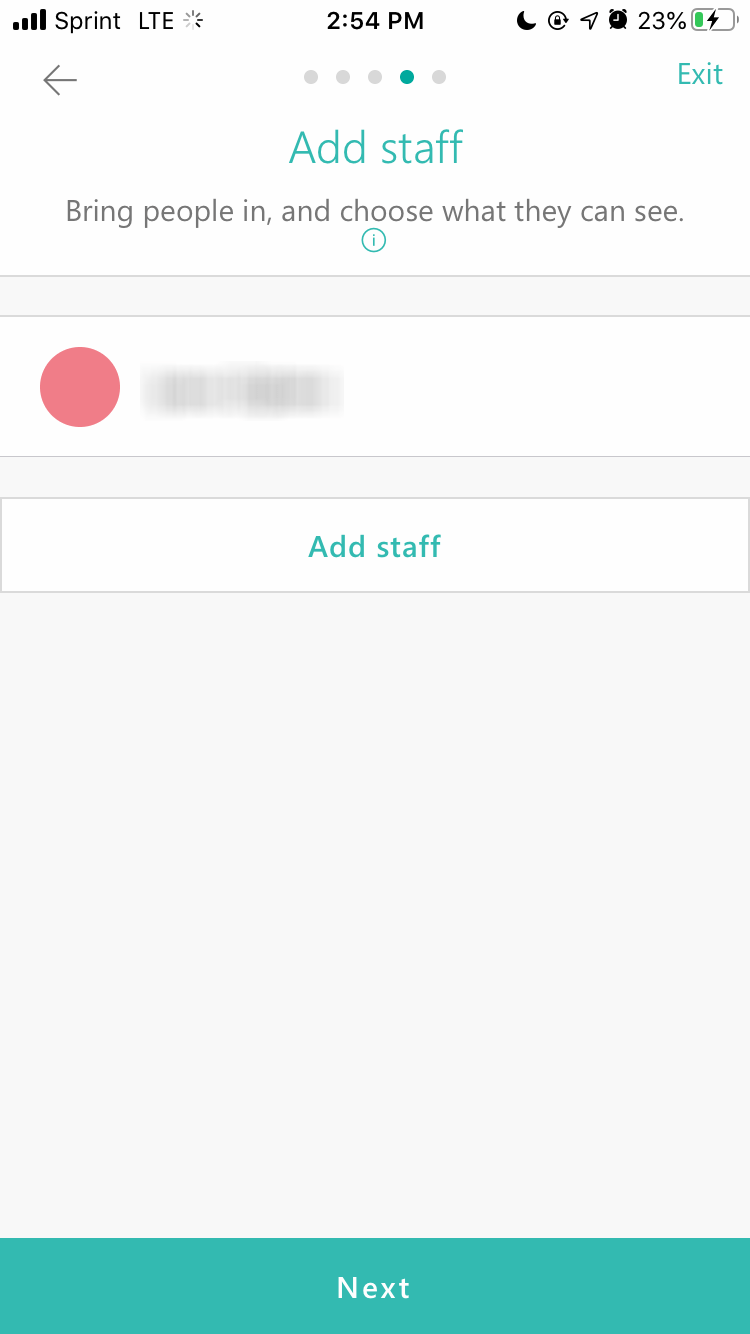
- Next, you’ll need to give Bookings some information about yourself and your availability. Tap the “Person” icon at the bottom of the screen, then tap your name when it appears at the top of the screen.
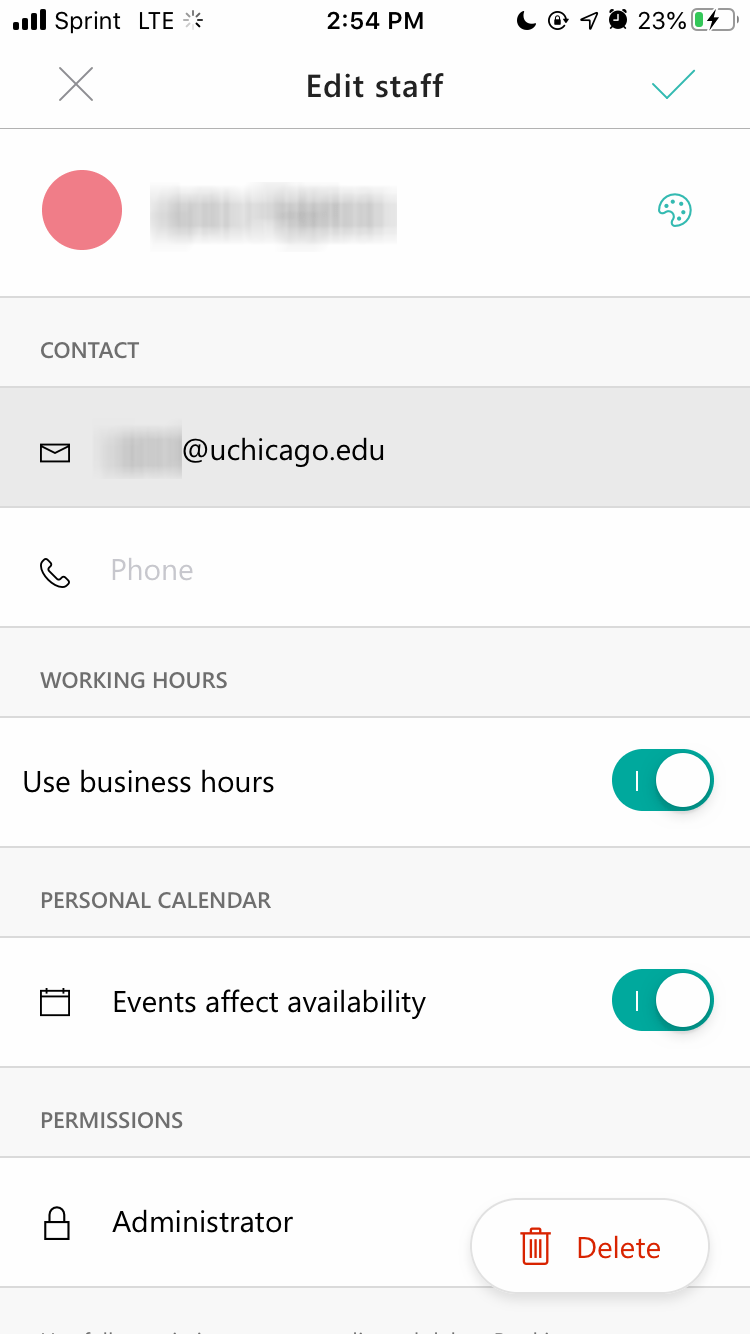
- Your profile screen will appear and you can tap through each item to select your availability. Tap the checkmark in the top right corner once you’re done.
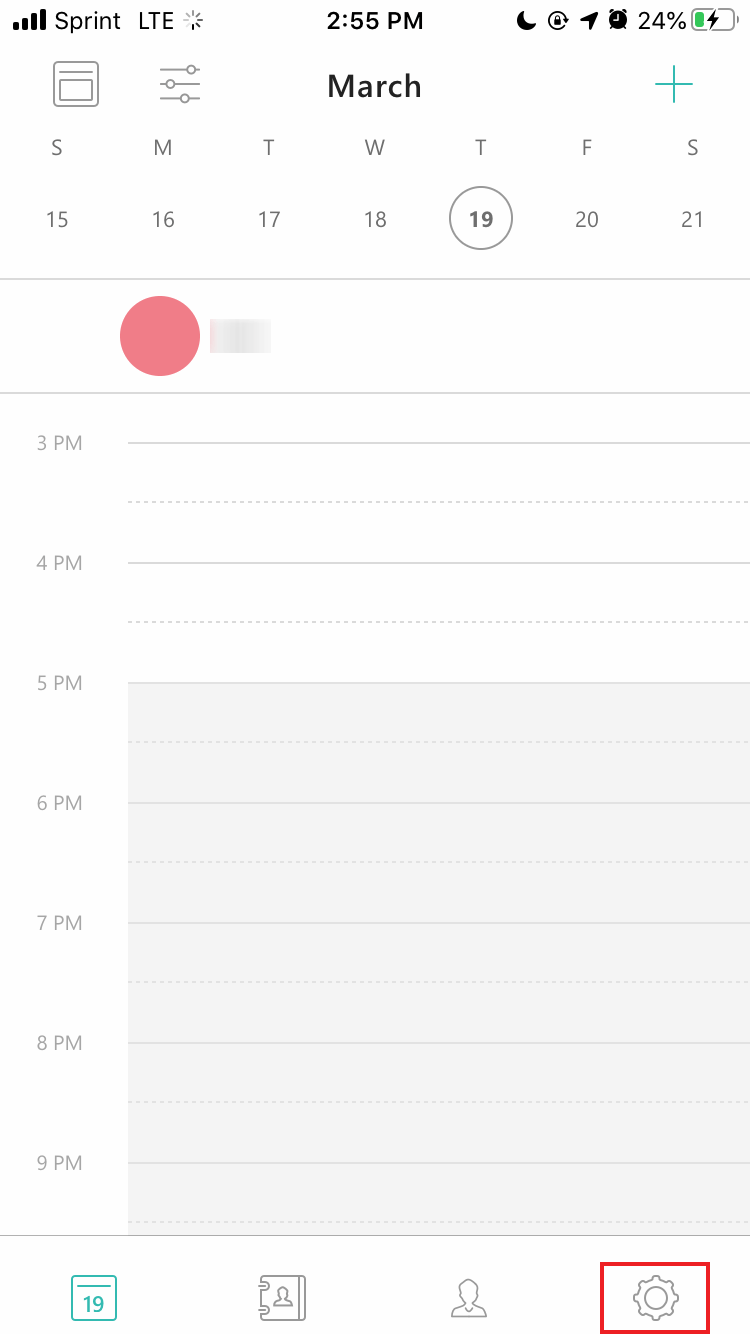
- After you’ve completed setup of your availability, you’ll need to publish your calendar to the world. Tap the gear icon at the lower right of the screen, then tap Booking Page.
- On the Bookings screen, tap the toggle switch next to Publish to make your Bookings calendar public. Save this change by clicking the checkmark in the top right corner.

You’re all set! Please explore https://outlook.office365.com/bookings/onboarding to take full advantage of the application.