How to Add a Network Printer via IP Address on a Mac
- Click the Apple icon in the upper left-hand corner of your Mac.
- Open the System Preferences panel.
- Click on Printers and Scanners.
- Then click on the + sign below the list of printers.
- Click on the IP icon. This will look like a blue globe icon.
- Type your printer’s IP address in the Address field. Your Mac will try to gather information about the printer.
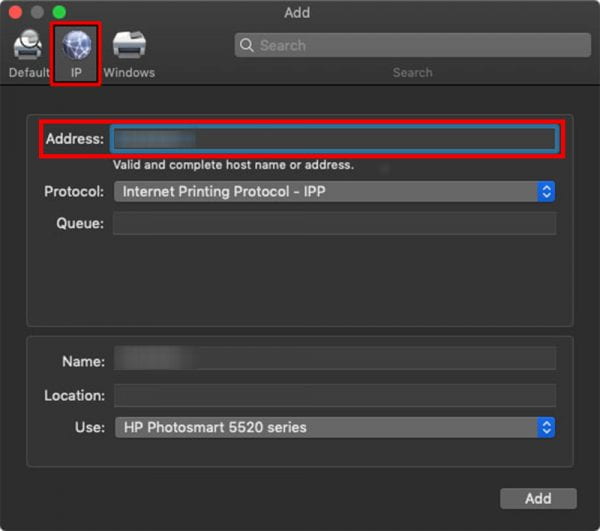
- Rename the printer if you want to.
- In the Use field, choose the print driver you would like to use.
- Click Add.