SSD’s operates a network storage system called Harbor or SSDFILES. This is the backend storage that is accessed through any number of methods:
- On Acropolis, Athens, and Cronus the /home and /share directories are located in Harbor.
- Group share in MacOS Finder: smb://ssdfiles.uchicago.edu/<sharename>
- Home directory in MacOS Finder: smb://ssdfiles.uchicago.edu/home/<your_cnet_id>
- Group share in Windows: \\ssdfiles.uchicago.edu\<sharename>
- Home directory in Windows: \\ssdfiles.uchicago.edu\<your_cnet_id>
- SFTP or SSH to a compute resource such as acropolis.uchicago, cronus.uchicago.edu, or athens.uchicago.edu
In order to work with your files in the RDS (Remote Desktop Services) environment, your files need to be located in your Home or Group share on Harbor.
This process allows the transfer of files to the network share; it does not provide a mapped drive to work with the files directly. There is a separate set of instructions to map out a network drive:
The following instructions will allow you to move your files to your Home directory or Group share so that you can work with them inside SSDLAB, Cronus, Athens, or Acropolis.
Getting Started – Before You Begin
- You must have a home directory created and assigned to your CNET account. Contact us to discuss your needs
- You need a computer running Windows 10, Mac OS, or Linux
- It is recommended that your computer have all of the latest OS updates.
- You need to be connected to the University of Chicago’s VPN if you are not on the campus network. VPN Instructions for Windows VPN Instructions for MacOS
Configure FileZilla (VPN or a connection to the campus network is required)
- Download the free Filezilla client from https://filezilla-project.org/download.php?show_all=1
- Install the application by running it. Agree to all prompts.
- Launch FileZilla
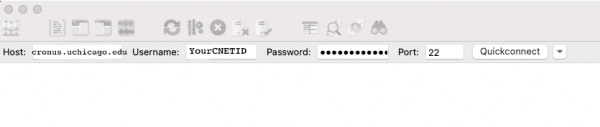
- Enter these settings at the top of the Filezilla window:
-
- Host(Use the hostname for the system you access): cronus.uchicago.edu OR athens.uchicago.edu OR acropolis.uchicago.edu
- Username: YourCNETid
- Password: YourCNETpassword
- Port: 22
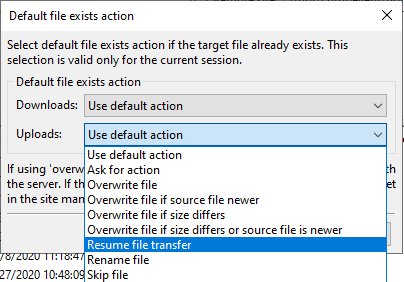
There is a setting that needs to be changed under Transfer–>Default file exists action.
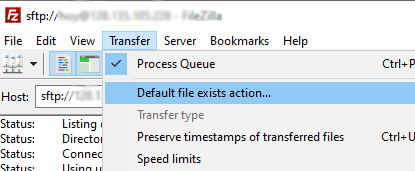
Set the Default file exists action to “Resume file transfer”
Using FileZilla
After configuring (as above) click the QuickConnect button.
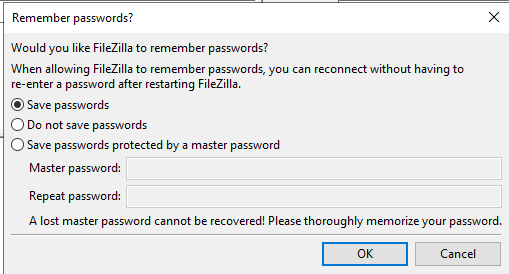
Only use the “Save passwords” if you are using a private computer – preferably a secure, University-issued laptop
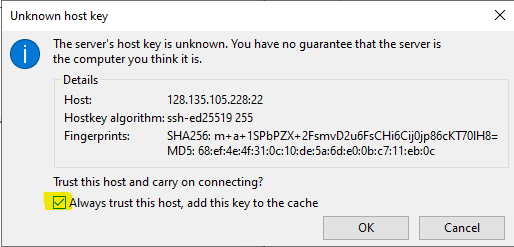
If you are running this for the first time, you will get a prompt for “Unknown Host Key”
Click the checkbox for “Always trust this host” and click the OK button
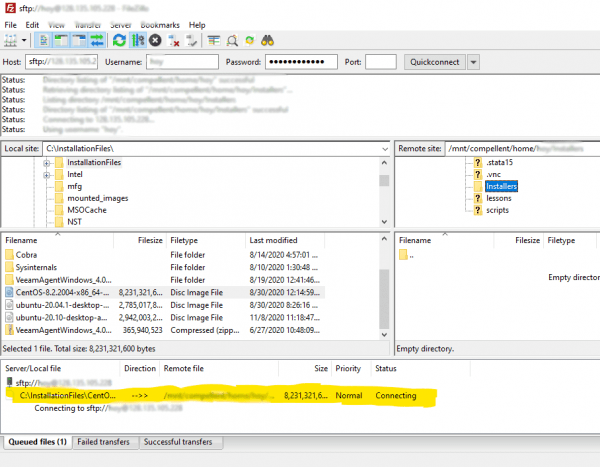
FileZilla will show you an explorer which you can browse.
The pane on the left is your local computer storage. The University network is on the right.
By default, you will have to browse or type the paths for the “Local site” as well as the “Remote site.”
In this example, we are looking at the local Home directory and the University home directory side by side.
Simply drag the folder you need from the left to the target folder on the right.

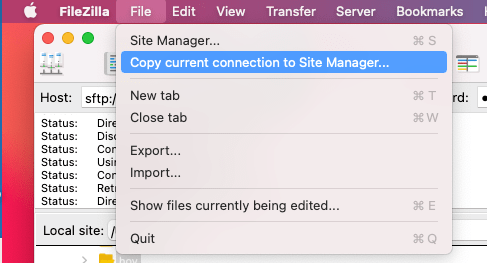
If you will be using FileZilla frequently, it may be convenient to save your connection to the Site Manager
You can monitor the progress of the upload on the pane at the bottom of FileZilla.
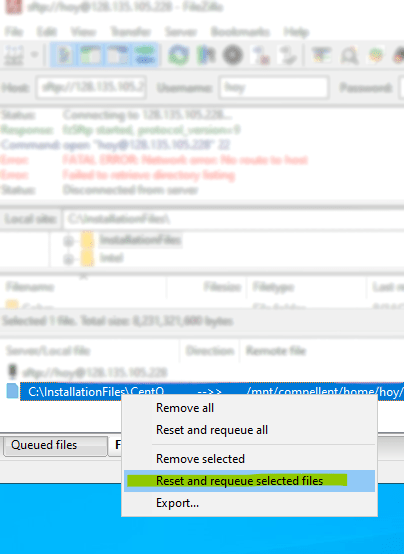
If a file fails to transfer it will show up on the Failed Transfers tab.
![]()
You can restart a failed transfers by right-clicking them and choose “Reset and requeue selected files”